
GetResponse Forms and Popups: Best 2026 Guide for Affiliates
This article contains affiliate links. If you sign up for GetResponse through a link on this page, I may earn a commission at no extra cost to you. I only recommend tools I have researched and believe are relevant to the reader’s use case.
Your Traffic Is Leaving Without Subscribing
Someone lands on your review, reads the whole thing, nods along — and closes the tab. No email captured, no way to follow up, no second chance to turn that visit into a subscriber. If that’s happening on your site, the fix probably isn’t more traffic. It’s that you don’t have a form or popup catching people at the right moment.
I am Andreas Maratheftis, 30 years in professional finance and the person running InnovateHub Finance on GetResponse. Forms and popups are the quiet workhorses of list building — less exciting than automation or segmentation, but they’re the mechanism that actually gets someone onto your list in the first place. This guide covers exactly what GetResponse’s Forms and Popups tool does, how it differs from a landing page, how to set up each trigger type, and which configuration actually makes sense for an affiliate site. By the end, you’ll have a working popup or form live on your site within 20 minutes.
Always verify current plan features and pricing at getresponse.com/pricing before making decisions based on anything in this guide.
Quick Answer
GetResponse Forms and Popups is a built-in tool for capturing email subscribers on any website — your own or an external one. You can create two content types: popups (which appear over your page content, triggered by time, scroll, exit intent, inactivity, or a click) and inline forms (embedded directly into your page). Both are available on the Free plan, though GetResponse periodically updates plan packaging, so verify current feature availability at getresponse.com/pricing before building your strategy around this.
A single code snippet, called Web Connect, installs once on your site and manages every form and popup configured for that website. For most affiliate sites, an exit-intent popup on your highest-traffic review pages, paired with a simple embedded form at the end of each article, covers the majority of what you need.
Start your free GetResponse account and try Forms and Popups →
Forms vs Popups vs Landing Pages: What’s the Actual Difference
These three terms get used interchangeably, but they solve different problems, and understanding the distinction saves you from building the wrong thing.
| Tool | What It Is | Best For |
|---|---|---|
| Popup | Content that appears over your existing page, triggered by an action or timing | Capturing attention on a page you already have, without disrupting the reading experience until triggered |
| Inline form (embedded) | A signup box embedded directly into your page content — visible immediately, no trigger needed | End-of-article opt-ins, sidebar widgets, always-visible list building |
| Landing page | A standalone page built entirely around one conversion goal | Dedicated lead magnet pages, paid traffic destinations, funnel entry points |
A landing page is a mini website built in GetResponse’s own Landing Page editor — it usually contains a default web form plus other elements like a call-to-action button or embedded video. Forms and popups, by contrast, are designed to sit on top of or within a page you’ve already built elsewhere — your WordPress site, a Shopify store, or any external website. One important technical detail: by default, landing pages only recognise forms added directly inside the landing page editor, not forms created separately in the Forms and Popups tool. If you want to add a form built in the standalone form editor onto a landing page, you’ll need to use the custom code element to embed it.
For an affiliate site like InnovateHub Finance, the practical split looks like this: landing pages for dedicated lead magnets (the Financial Clarity Toolkit gets its own page), and forms/popups layered onto the existing review articles and blog content where people are already reading. Both feed into the same GetResponse contact list — the mechanism differs, the destination doesn’t.
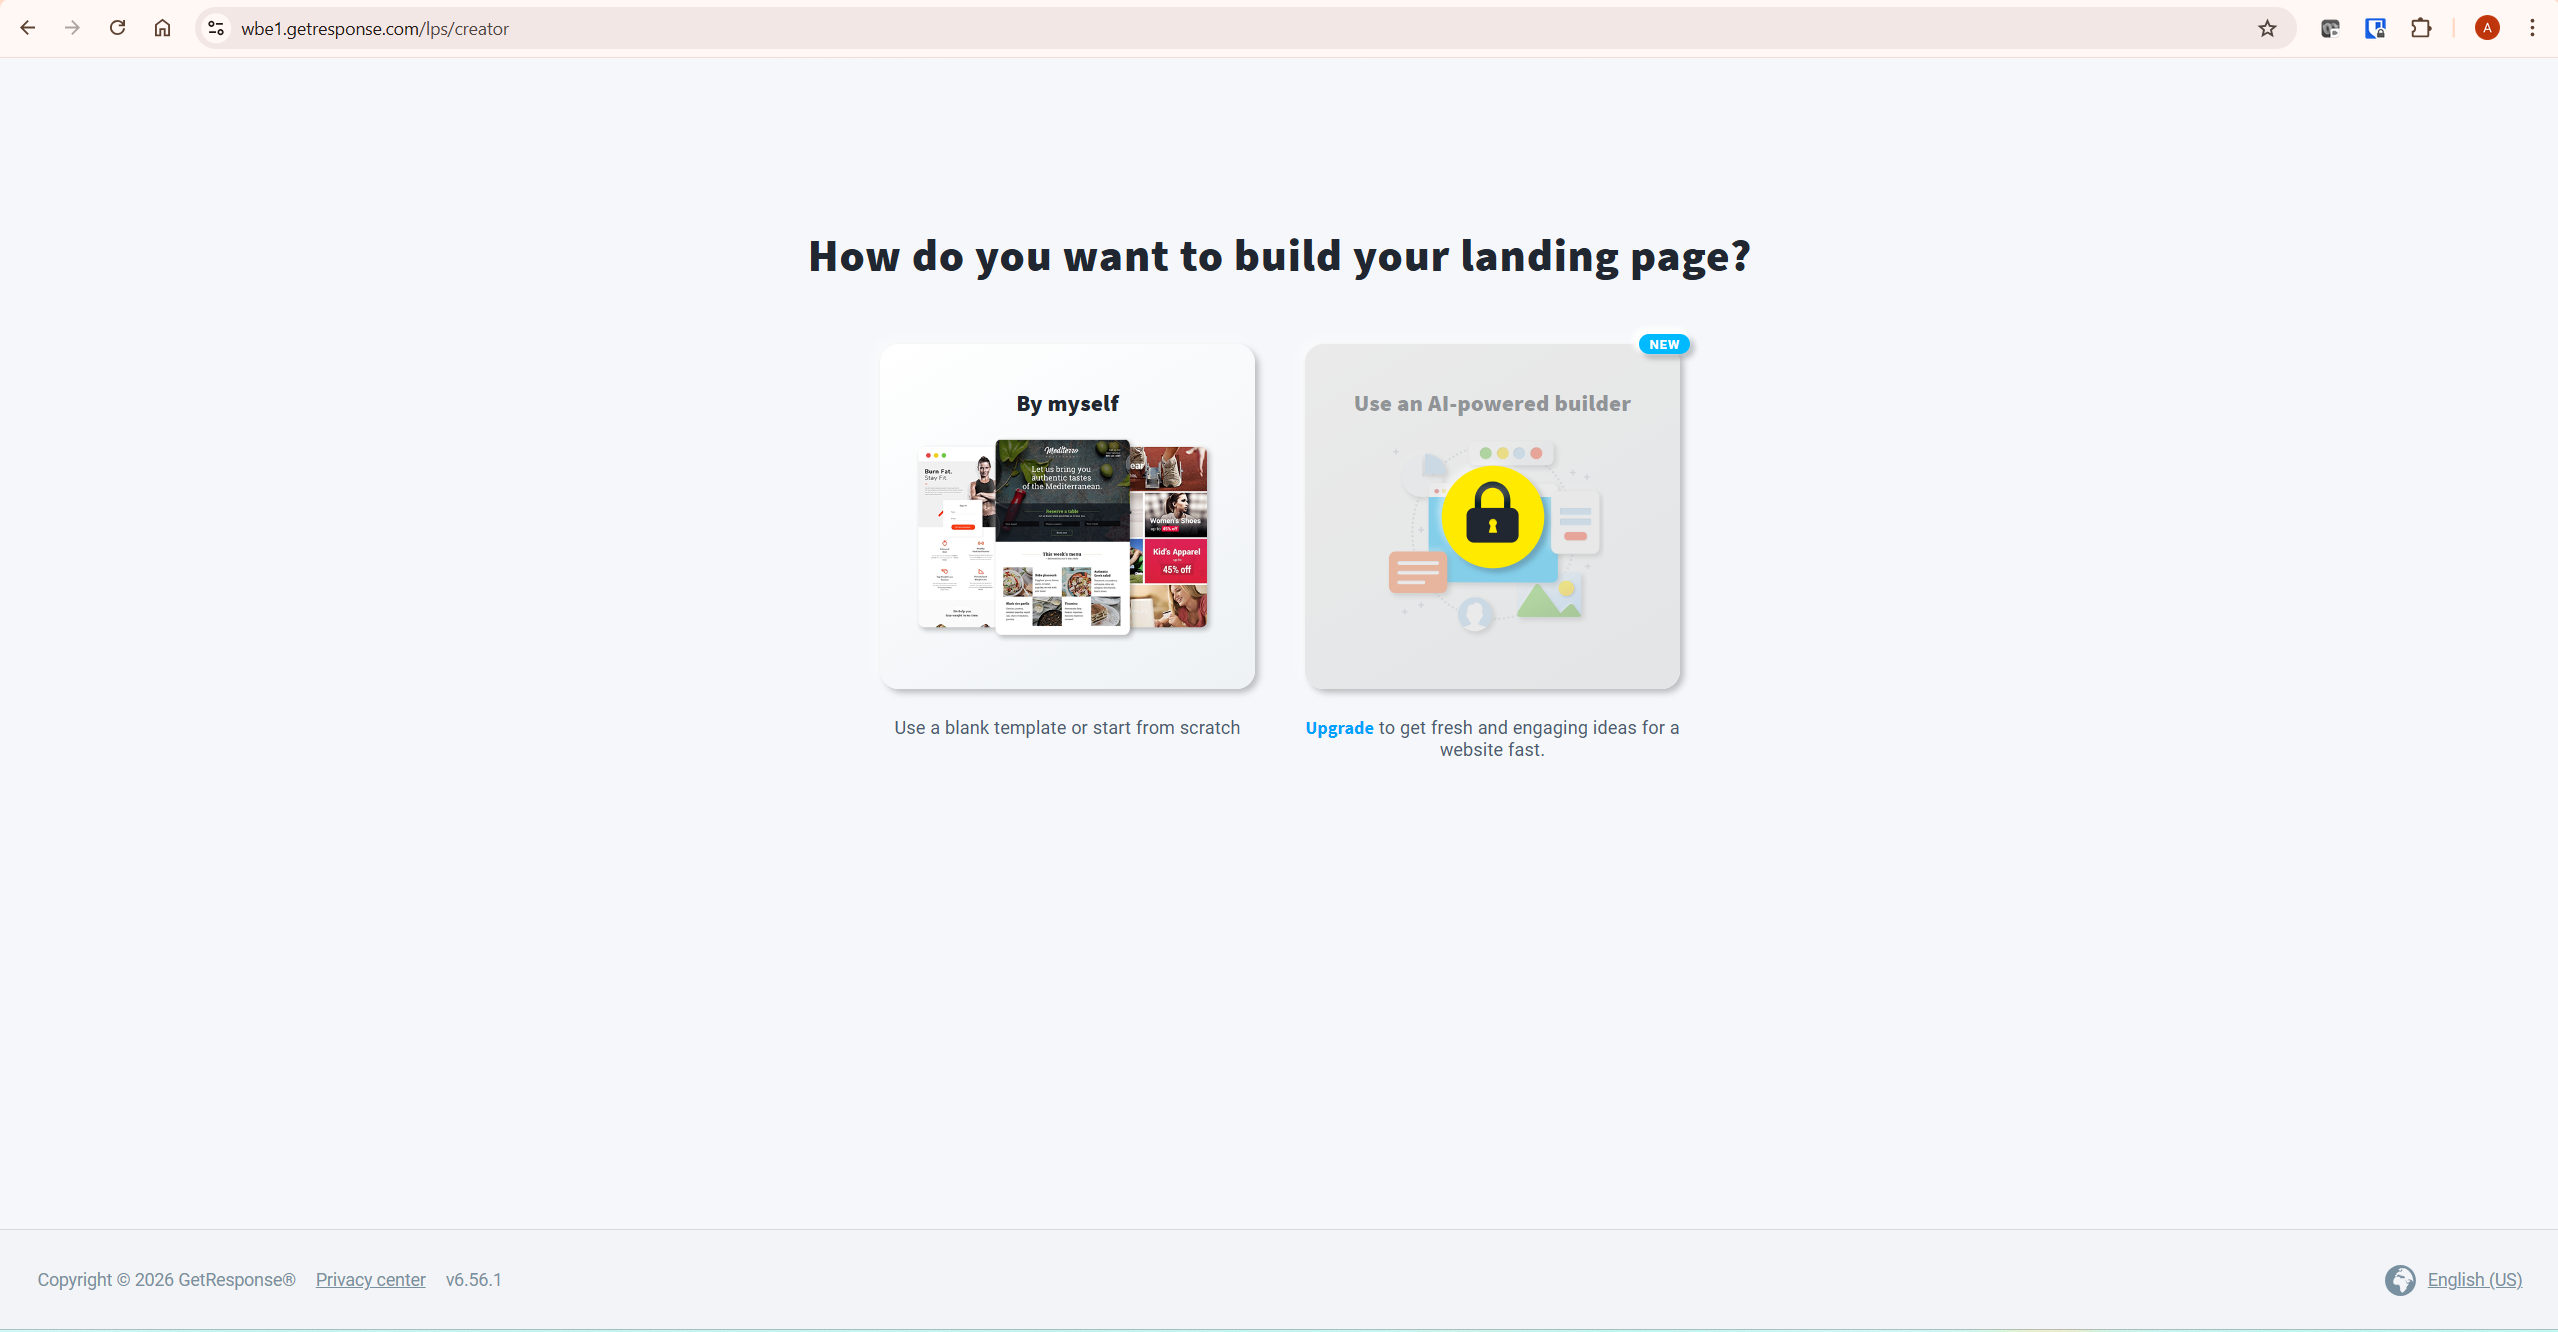
The Two Content Types Inside GetResponse Forms and Popups
Inside the Forms and Popups tool, GetResponse gives you two formats, and both can contain the same underlying content — signup forms, contact forms, download prompts, or promotional banners. The difference is how they’re delivered to the visitor.
Popups are triggered by a specific action or piece of timing you define. They can appear as a centred overlay, a slide-in box in a corner, a full-screen mat that takes over the entire viewport, or a bar fixed to the top or bottom of the page. Because they’re triggered rather than always-visible, popups work well when you want to interrupt at a specific moment — right as someone’s about to leave, or after they’ve scrolled far enough to show genuine interest.
Inline content (embedded forms) sits directly within your page’s existing layout — no trigger, no overlay, just a form that’s part of the page from the moment it loads. This is the right choice for an end-of-article opt-in, a sidebar widget, or any spot where you want a permanent, non-intrusive capture point rather than an interruption.
How to Create GetResponse Forms and Popups
The setup process for GetResponse forms and popups is the same regardless of which format you choose, with the trigger configuration being the main point of difference.
Step 1. Go to Tools → Forms and popups in your GetResponse dashboard.
Step 2. Click Create, then choose whether you’re building a popup or inline content.
Step 3. Select a pre-designed template from the library — filterable by type and tag — or start from a blank canvas. For a first attempt, starting with a template is faster and reduces the chance of a design mistake costing you conversions.
Step 4. Customise the design inside the drag-and-drop editor. Add or edit the signup form fields, change colours and fonts to match your brand, and adjust the button text — avoid generic labels like “Submit”; something specific like “Send Me the Guide” converts better because it restates the value the visitor is getting.
Step 5. Click Next to move into settings. Here you specify the Page URLs — whether this form or popup should appear across your entire website or only on specific pages — and enter the actual URL where it should display.
Step 6. If you’re building a popup, configure the trigger under Choose trigger — covered in detail in the next section.
Step 7. Choose which GetResponse list new subscribers should join. If you’ve built segments already, tagging subscribers by which popup or form captured them lets you send more relevant follow-up content later. For more on this, see the GetResponse segmentation guide. Once someone subscribes, your welcome sequence should begin automatically — the GetResponse automation guide covers how to build that workflow.
Step 8. Click Save and publish.
Step 9. If this is the first form or popup you’ve published on this website, you’ll need to install the Web Connect code. Go back to Forms and popups, open the Actions menu (three dots) next to your form, click Settings, and copy the Web Connect snippet. Paste it once into your site’s <head> section — most WordPress themes let you do this through a header/footer plugin or theme editor. Once Web Connect is installed on that website, newly created forms and popups configured for that site can be published without installing additional snippets.
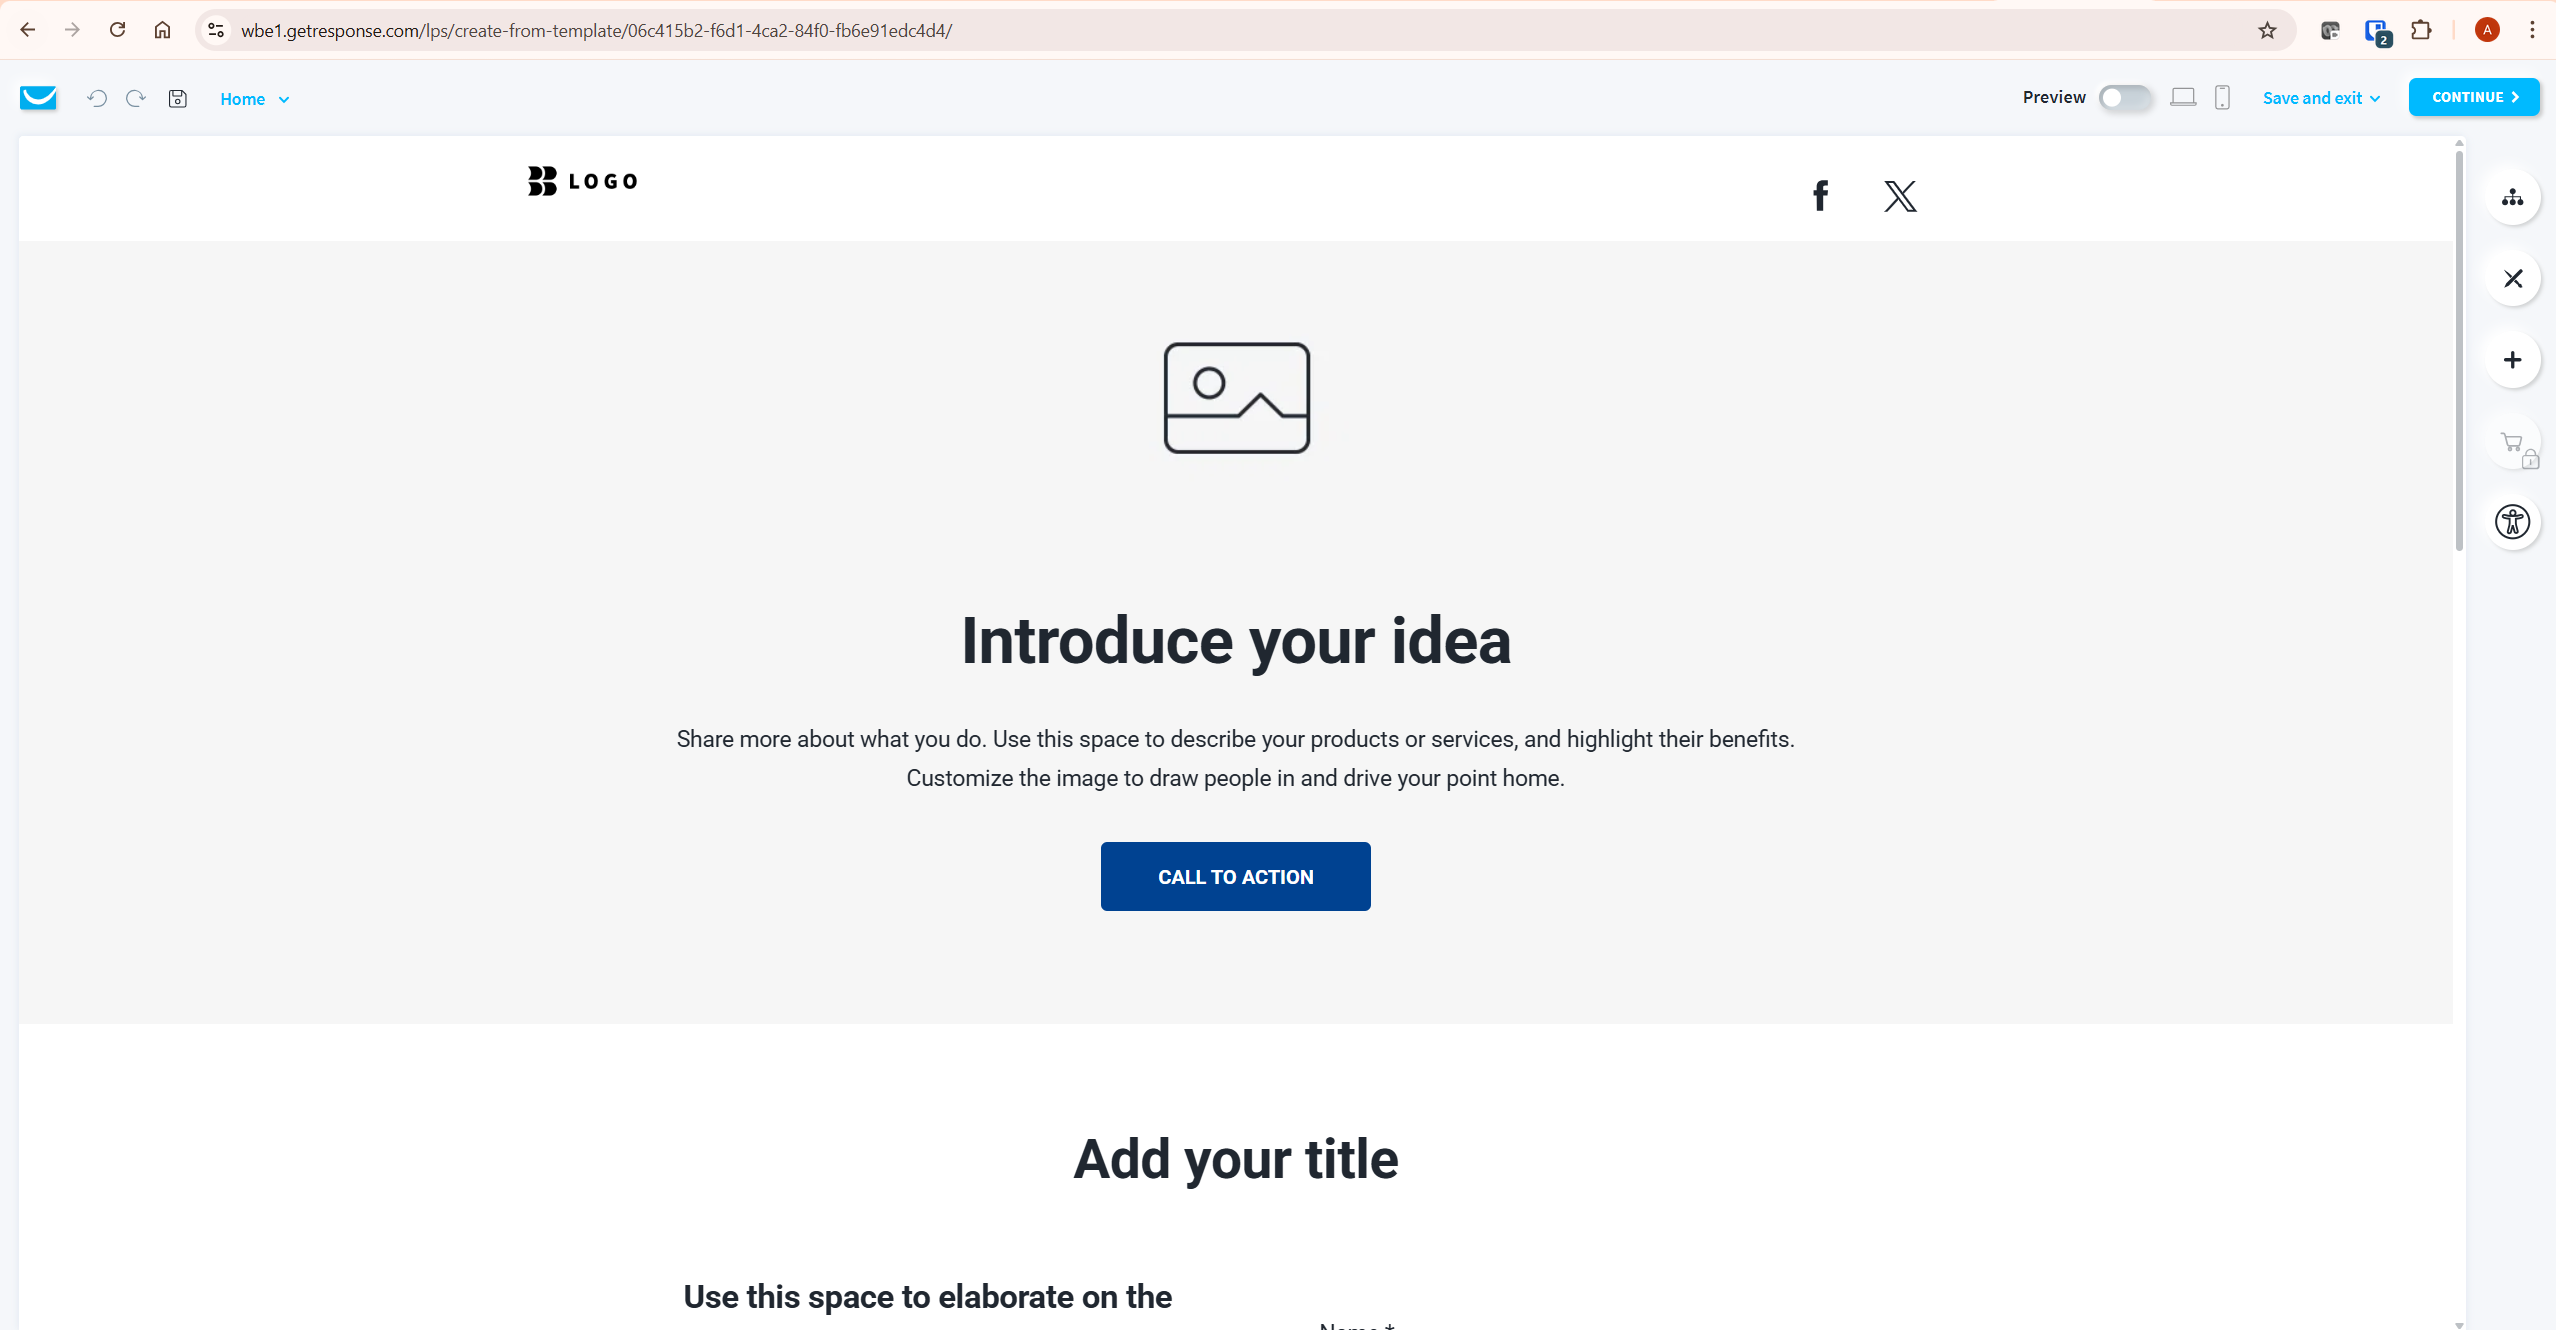
Popup Triggers: When Your Popup Actually Appears
With GetResponse forms and popups, the trigger you choose determines whether your popup annoys visitors or catches them at a genuinely useful moment. GetResponse supports five trigger types.
Time delay: The popup appears after a set number of seconds on the page. Good for content where visitors typically read for a while before deciding to engage further — a long-form review, for instance.
Scroll percentage: The popup fires once the visitor has scrolled past a defined percentage of the page. For a review article, triggering at 60-70% scroll depth means the popup appears after someone has read the verdict section — they’ve already decided the content is useful, which is exactly when they’re most receptive to an offer.
Exit intent: Detects when a visitor’s mouse moves toward the browser’s close or back button and triggers the popup before they leave. Mobile behaviour varies depending on browser capabilities and GetResponse’s current implementation, so test this trigger on the devices your audience actually uses. This is the highest-value trigger for affiliate content — it only interrupts someone who was already leaving, so it captures otherwise-lost traffic rather than annoying an engaged reader.
On inactivity: Fires after a visitor has been inactive on the page for a set number of seconds. Useful for catching visitors who’ve stopped actively reading but haven’t left — potentially reading a screenshot closely or considering the offer.
On click: The popup appears only when a visitor clicks a specific button or link you designate. This gives you the most control — the visitor is explicitly opting into seeing the offer rather than being interrupted passively. A “Get the free checklist” text link within your article body that triggers a popup is a clean, non-intrusive way to offer a lead magnet without it feeling forced.
For a review-heavy affiliate site, the combination that tends to work best without feeling aggressive is: exit intent as your primary popup trigger site-wide, plus an on-click trigger tied to specific text links within articles where you’re offering a directly relevant lead magnet.
What Affiliate Marketers Should Build First With GetResponse Forms and Popups
Rather than trying every trigger and format at once with GetResponse forms and popups, three specific configurations cover most of what an affiliate site needs.
Configuration 1: Exit-intent popup on your highest-traffic review pages. Offer something directly tied to the content — if it’s a Koinly review, offer a crypto tax checklist, not a generic newsletter signup. Generic offers convert worse than ones that match the specific reason someone is on that page.
Configuration 2: Inline form at the end of every article. No trigger needed — it’s simply part of the page. This is a lower-pressure capture point for readers who finish an article but wouldn’t respond to an interruptive popup. Keep the ask simple: name and email only, since GetResponse’s landing-page-embedded forms don’t support additional custom fields.
Configuration 3: Scroll-triggered popup on your pillar/review articles specifically. Set this to fire at roughly 65% scroll depth — past the point where someone has read your verdict. This is where a reader has just formed a positive impression of your review and is genuinely more receptive to a related offer.
Original data point: If you were to replicate GetResponse’s built-in Forms and Popups functionality using a dedicated third-party tool like OptinMonster or ConvertFlow, dedicated popup tools typically introduce an additional recurring subscription on top of your email marketing platform, meaning a solo affiliate marketer running both is paying for two separate tools that overlap in core function. For a site under a few hundred articles, GetResponse’s native forms and popups cover the core mechanics — trigger types, templates, A/B testing on landing page forms — without that second subscription.
The trade-off is real: dedicated tools offer gamified formats like spin-to-win wheels and larger template libraries that GetResponse doesn’t match. Whether that trade-off is worth paying for depends on how much incremental conversion you’d actually gain from those extra formats, which is worth testing before assuming you need the upgrade.
Can You A/B Test Forms and Popups?
Within GetResponse forms and popups, A/B testing works at the landing page level. If your signup form or popup is part of a landing page variation, its performance is measured through the landing page experiment — build variant A, build variant B with one meaningful difference such as a different headline or button colour, and let the traffic split reveal which converts better. Standalone popups running on external websites, outside the landing page context, do not currently provide the same built-in traffic-splitting workflow. For the full mechanics of how GetResponse structures A/B tests, see the GetResponse A/B testing guide.
One honest limitation worth restating: this traffic-splitting capability lives inside the landing page experiment, not the standalone Forms and Popups tool itself. If you’re running a popup on an external WordPress site, you won’t get the same built-in variant comparison — you’d need to manually swap designs and compare performance using the Forms and Popups analytics panel instead, which shows traffic and conversion data per popup but doesn’t automatically split traffic between two versions the way a true A/B test does.
Installing GetResponse Forms and Popups on an External Website
Installing GetResponse forms and popups on a site outside its own Website Builder — WordPress, Shopify, or anything else — requires pasting a code snippet once — after that, everything is managed from inside GetResponse without touching your site’s code again.
The process: create your form or popup as described above, then in the Actions menu next to it, click Settings and locate the Web Connect section. Copy the snippet and paste it into your site’s <head> tag — on WordPress, this is typically done through your theme’s header settings or a header-and-footer scripts plugin, which avoids editing theme files directly. Once Web Connect is live on your site, every subsequent form or popup you create in GetResponse will display according to whatever page rules and triggers you’ve configured, without any further code changes.
This single-snippet approach is a genuine convenience compared to some competing tools that require a new code block for every individual campaign. The trade-off, as one independent comparison of GetResponse’s popup builder against dedicated tools like OptinMonster notes, is that the underlying customisation and targeting options are more limited — functional and easy to install, but not built for the kind of granular, multi-step personalisation that a specialised on-site engagement tool offers.
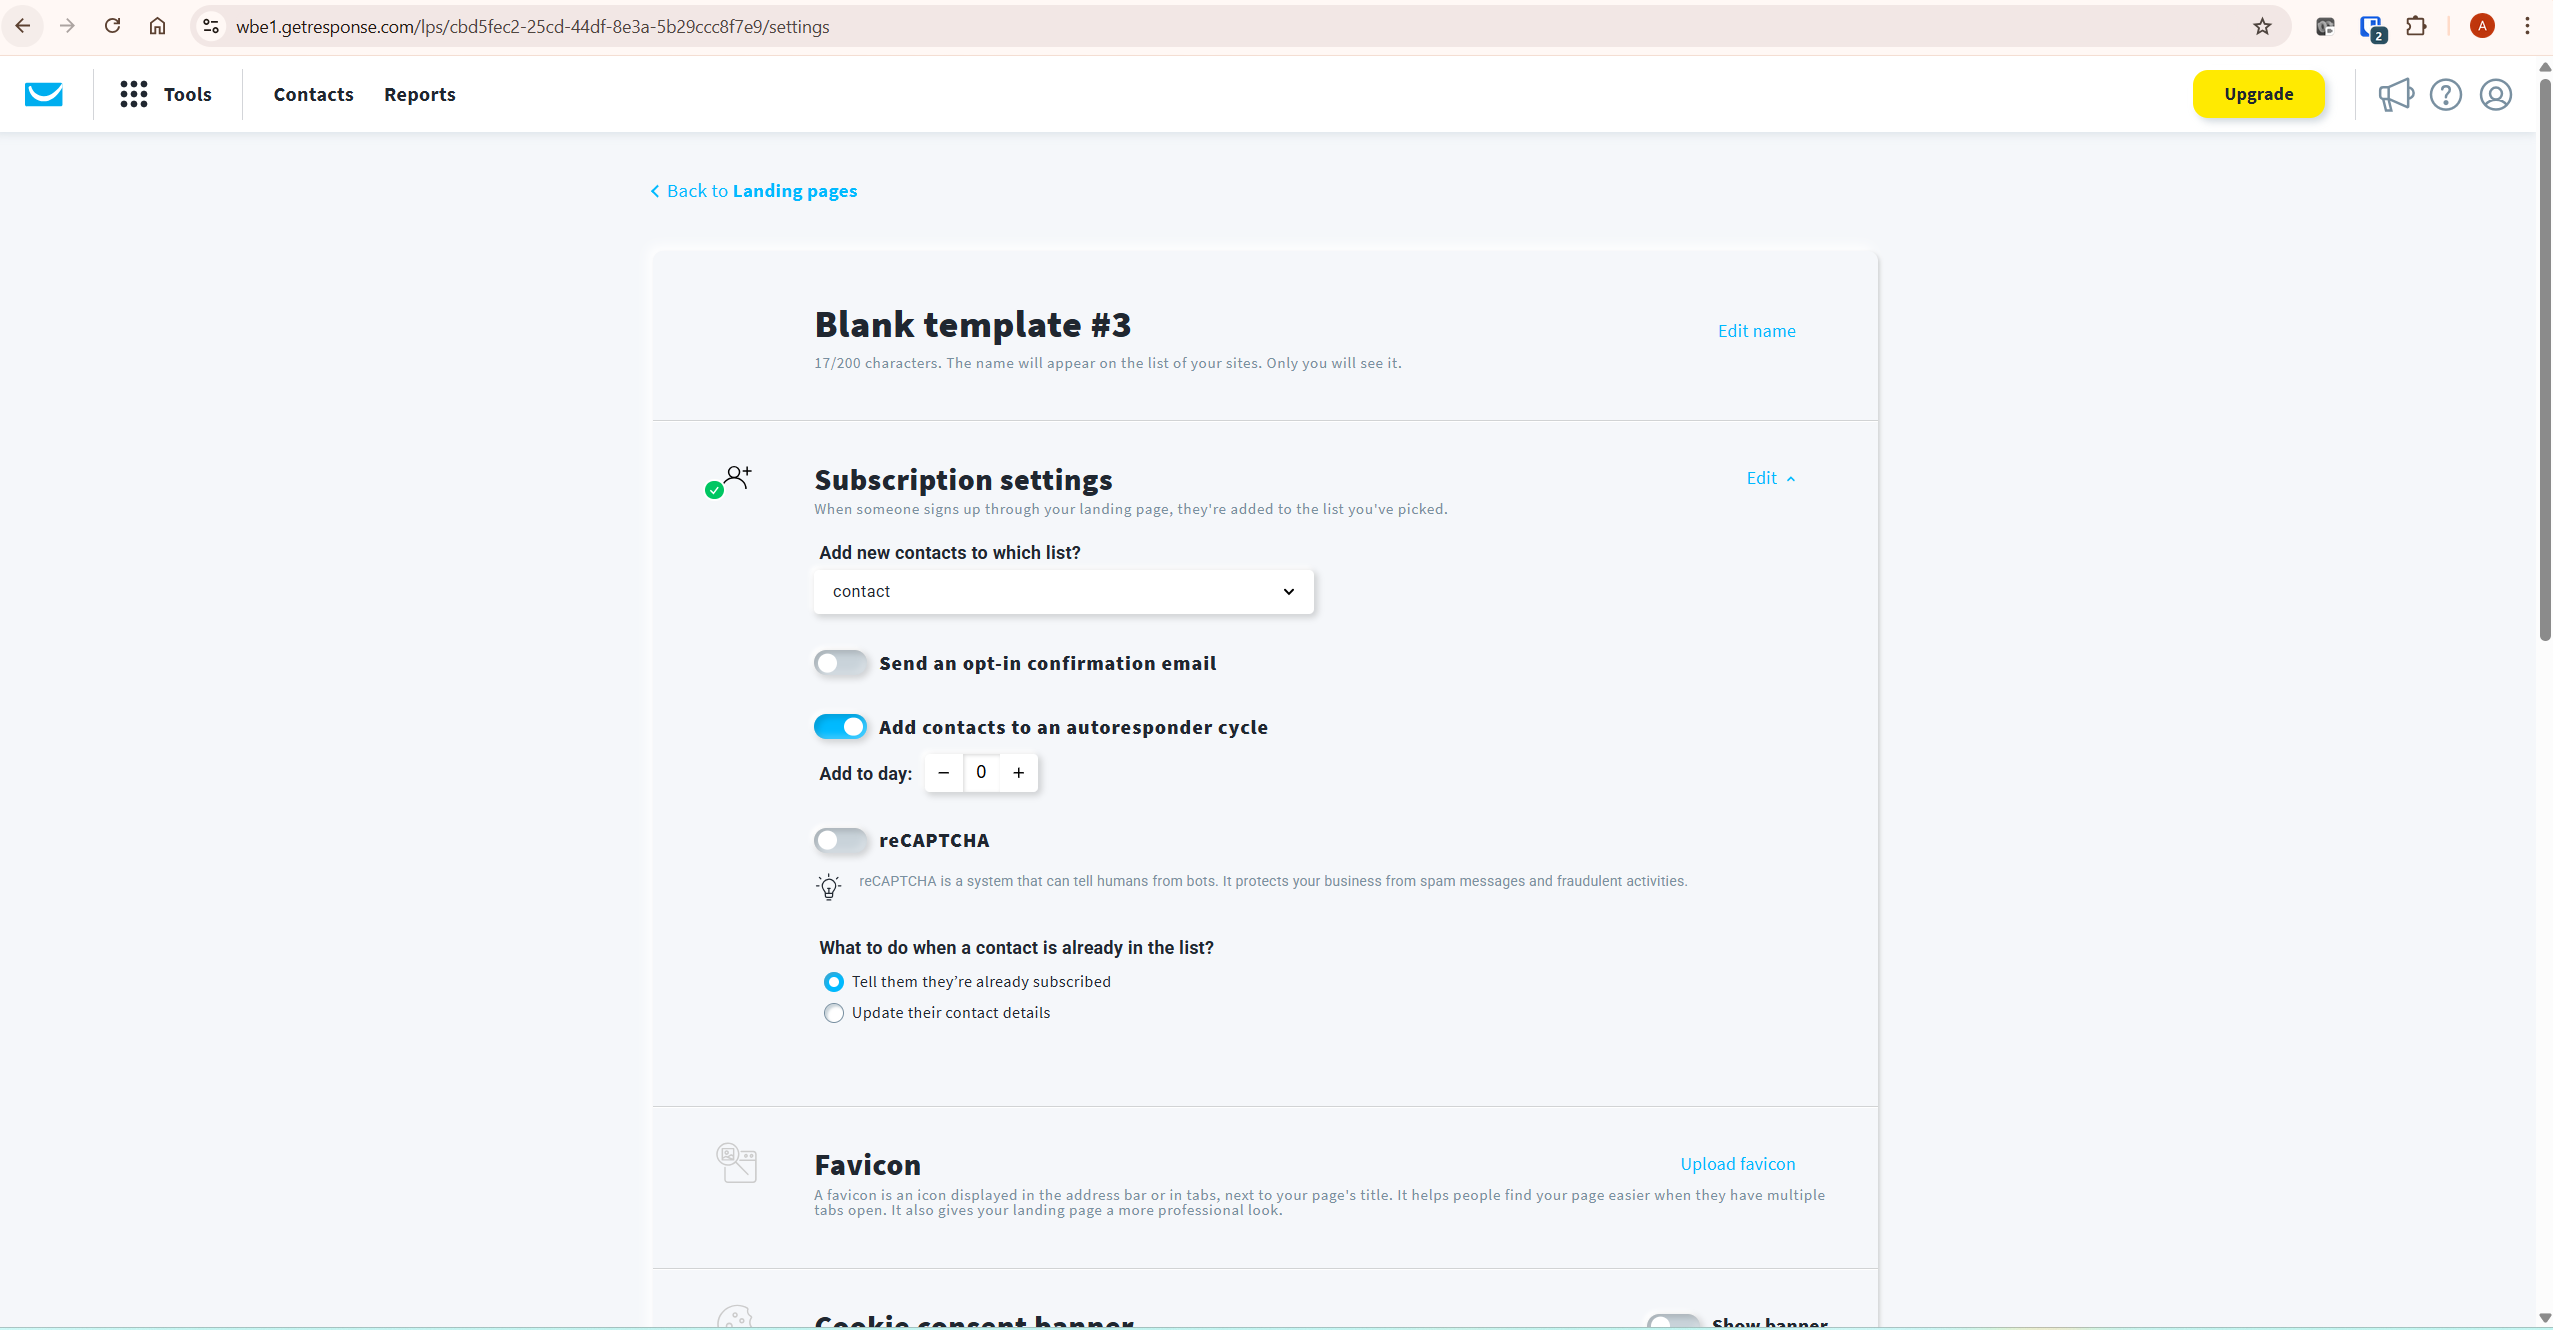
Common Mistakes With GetResponse Forms and Popups
These are the mistakes that come up most often when setting up GetResponse forms and popups for an affiliate site — avoiding them keeps GetResponse forms and popups working for you rather than against your bounce rate.
Using exit intent site-wide with a generic offer. A single “Join our newsletter” popup that fires on every page regardless of content ignores the fact that someone reading a Koinly review and someone reading a TradingView tutorial have completely different interests. Match the offer to the page.
Setting the time delay trigger too aggressively. A popup that fires 3 seconds after page load interrupts before a visitor has decided whether your content is worth their attention at all. This is the single fastest way to increase bounce rate rather than capture emails. Give people time to engage first.
Forgetting the Web Connect snippet only needs installing once. Some users mistakenly try to add a new code snippet for every popup, when the entire point of Web Connect is that a single installation manages every current and future form or popup automatically.
Not checking subscription statistics by source. GetResponse tracks which method — landing page, popup, or form — brought in each subscriber, visible under Contacts → Statistics. Ignoring this means you have no idea which of your capture points is actually working, and you’ll keep investing effort in a popup that’s quietly underperforming.
What To Do Next
Ready to put GetResponse forms and popups to work? Open your account now and go to Tools → Forms and popups. Build one exit-intent popup for your highest-traffic review article, offering a lead magnet specific to that content. Install the Web Connect snippet on your site if you haven’t already, publish the popup, and check back in a week under Contacts → Statistics to see how many subscribers it’s captured. That single popup, correctly matched to the right page, usually outperforms weeks of generic list-building effort. For the complete picture of what else GetResponse offers, read the complete GetResponse review.
Try GetResponse free and build your first popup today →
Conclusion
GetResponse forms and popups solve a problem that automation and segmentation can’t fix on their own: getting someone onto your list in the first place. At the time of writing, both formats are available on the Free plan, though GetResponse may update plan packaging over time — verify current availability before making purchasing decisions. The trigger options cover every realistic affiliate use case, and the single Web Connect installation means you’re not maintaining code across a dozen individual campaigns.
Start with one well-matched exit-intent popup rather than trying every trigger type at once — a single popup that’s genuinely relevant to its page will outperform five generic ones every time. If you’re still deciding whether GetResponse is the right platform overall, the full GetResponse review covers the complete feature set and honest limitations in detail.
Start your free GetResponse account — forms and popups are included from day one →
Frequently Asked Questions
Can I show different GetResponse popups on different pages?
Yes. When setting up a popup or form, the Page URLs section lets you specify whether it should display across your entire website or only on specific pages you define. This is what makes it possible to show a Koinly-specific lead magnet popup on your Koinly review and a completely different TradingView-related offer on your TradingView content, all managed from the same Forms and Popups dashboard.
Are GetResponse forms and popups free?
Yes, both popups and inline forms are available on GetResponse’s Free plan, along with unlimited landing pages. Advanced features like A/B testing and unlimited landing page traffic require a paid plan. For most affiliate sites just starting out, the Free plan’s forms and popups capability is enough to begin building a list before any paid upgrade is necessary.
What is the difference between a GetResponse form and a popup?
Within GetResponse forms and popups, a form (inline content) is embedded directly into your page and visible immediately without any trigger — useful for sidebar widgets or end-of-article opt-ins. A popup appears over your existing page content and is triggered by a specific action, such as time on page, scroll depth, exit intent, inactivity, or a click. Both can contain the same type of content, including signup forms, contact forms, and promotional banners.
What is the difference between GetResponse forms/popups and a landing page?
A landing page is a standalone page built entirely in GetResponse’s Landing Page editor around one conversion goal. Forms and popups are designed to layer onto a page you’ve already built elsewhere — your existing website or blog. By default, landing pages only recognise forms created inside the landing page editor itself; a form built separately in the Forms and Popups tool needs to be added via the custom code element if you want it on a landing page.
How do I install a GetResponse popup on an external website like WordPress?
Create your popup or form in GetResponse, then go to its Settings and copy the Web Connect code snippet. Paste this snippet once into your website’s <head> section — on WordPress, a header-and-footer scripts plugin makes this straightforward without editing theme files directly. After this one-time installation, every form and popup configured for that website will display automatically according to its configured rules, with no further code changes needed.
Can I A/B test a GetResponse popup?
A/B testing for forms and popups works within the landing page context — you can create variants of the same landing page to compare which form or popup design converts better. For popups running on an external website rather than a GetResponse landing page, you don’t get this same automatic split-testing; instead, use the Forms and Popups analytics panel to manually compare performance between design changes over time.
What triggers can I use for a GetResponse popup?
GetResponse supports five popup triggers: time delay (appears after a set number of seconds), scroll percentage (appears after the visitor scrolls a defined amount of the page), exit intent (detects when a visitor is about to leave), on inactivity (fires after a period of no visitor activity), and on click (appears only when a visitor clicks a specific button or link). Exit intent is generally the most effective trigger for affiliate content, since it only interrupts visitors who were already leaving.
Does GetResponse’s popup builder work as well as dedicated tools like OptinMonster?
GetResponse’s popup builder is functional and covers the core mechanics most affiliate sites need — templates, standard triggers, and single-code installation — without requiring a second subscription on top of your email platform. Independent comparisons note that dedicated tools like OptinMonster offer more advanced formats such as gamified spin-to-win popups and larger template libraries, along with more granular targeting options. For a site building its first list-capture strategy, GetResponse’s native tool is typically sufficient; a dedicated tool becomes worth considering once you’ve validated that forms and popups are working and want to push conversion further.
