
How to Import Coinbase Transactions into Koinly: Best Complete Guide (2026)
This article contains affiliate links. If you sign up for Koinly through a link on this page, I may earn a commission at no extra cost to you. I only recommend tools I have genuinely evaluated.
This article is for informational purposes only and does not constitute professional tax or financial advice. Tax laws vary by country and change frequently. Consult a qualified tax professional for advice specific to your situation.
If you are setting up Koinly for the first time and your Coinbase import looks incomplete — or your gains figure looks wrong after connecting — this guide covers the complete process with the specific details most walkthroughs skip. The accuracy of your entire Koinly tax calculation depends on how completely and correctly this import is done, and the setup stage is where the most consequential errors occur.
After 30 years in finance, I approach the configuration of any financial tool the same way: a complete, correctly configured import produces an accurate tax position. An incomplete or misconfigured one produces incorrect gains figures that, if filed, create exactly the kind of discrepancy with exchange-reported data that triggers regulatory scrutiny.
By the end of this guide you will know exactly how to import Coinbase transactions into Koinly using both available methods, how to verify the import is complete, which transaction types require specific attention, and how to handle the most common problems that cause incorrect gains after the sync.
Koinly’s free plan lets you import up to 10,000 transactions, connect unlimited wallets, and view your calculated gains and tax summary — but cannot generate downloadable reports. If you exceed 10,000 transactions, calculations halt until you upgrade. Create your free Koinly account here.
Quick Answer: How to Import Coinbase Transactions into Koinly
Go to Wallets in Koinly, click Add Wallet, search for and select Coinbase, then choose Setup Auto-Sync and log in to Coinbase through the secure OAuth connection — this imports your complete transaction history automatically. The OAuth method is faster, more complete, and more reliable than CSV import for most users. After the sync completes, go to the Transactions tab and review all flagged items before generating any report. Getting the connection right is only half the job — verifying the import is complete and resolving every flagged transaction is what produces an accurate tax position.
Two Methods at a Glance: OAuth vs CSV
Choose the right method before starting — mixing both for the same account creates duplicate transactions that distort your gains calculation.
| Method | How It Works | Best For | Key Limitation |
|---|---|---|---|
| OAuth Auto-Sync | Secure login via Coinbase — imports full history automatically | Most users — active and historical | Requires active Coinbase account |
| CSV Import | Download transaction file from Coinbase, upload to Koinly | Closed accounts, specific date ranges | Static — does not update automatically |
Why This Import Is Critical for Tax Accuracy in 2026
Koinly calculates your capital gains by tracing the cost basis of every asset from its original acquisition through every subsequent transaction to its eventual disposal. If Coinbase is where you originally purchased an asset — even years ago — and that purchase history is missing from Koinly because the import was incomplete, the platform cannot find the cost basis for any later disposal of that asset. The result is a missing cost basis warning and an incorrect gain calculation that overstates your tax liability.
The regulatory context makes accuracy more important than ever. Under IRS rules, Form 1099-DA reporting applies to transactions on or after January 1, 2025, with basis reporting for covered securities beginning January 1, 2026 — mandatory for covered securities, voluntary for noncovered securities. This means US exchanges including Coinbase are reporting transaction data to the IRS, and discrepancies between exchange-reported proceeds and your filed gains are what triggers examination. Your Koinly-calculated position needs to align with what your exchanges have already reported.
According to IRS digital assets guidance, all crypto disposals must be reported with accurate cost basis. For the complete Koinly platform evaluation, our Koinly review covers everything in detail.
Method 1: OAuth Auto-Sync (Recommended)
OAuth is the recommended method for most users — more complete, more automatic, and less error-prone than CSV.
Step 1: Go to Wallets. Log in to your Koinly account and click Wallets in the left navigation. Click Add Wallet to begin the connection process.
Step 2: Search for Coinbase. In the Add Wallet search field, type Coinbase. You will see multiple options — Coinbase, Coinbase Advanced Trade, and Coinbase Commerce. Select the standard Coinbase option for your main account. If you also have Coinbase Advanced Trade history, add that separately as a distinct wallet — it is a separate trading environment with its own transaction data.
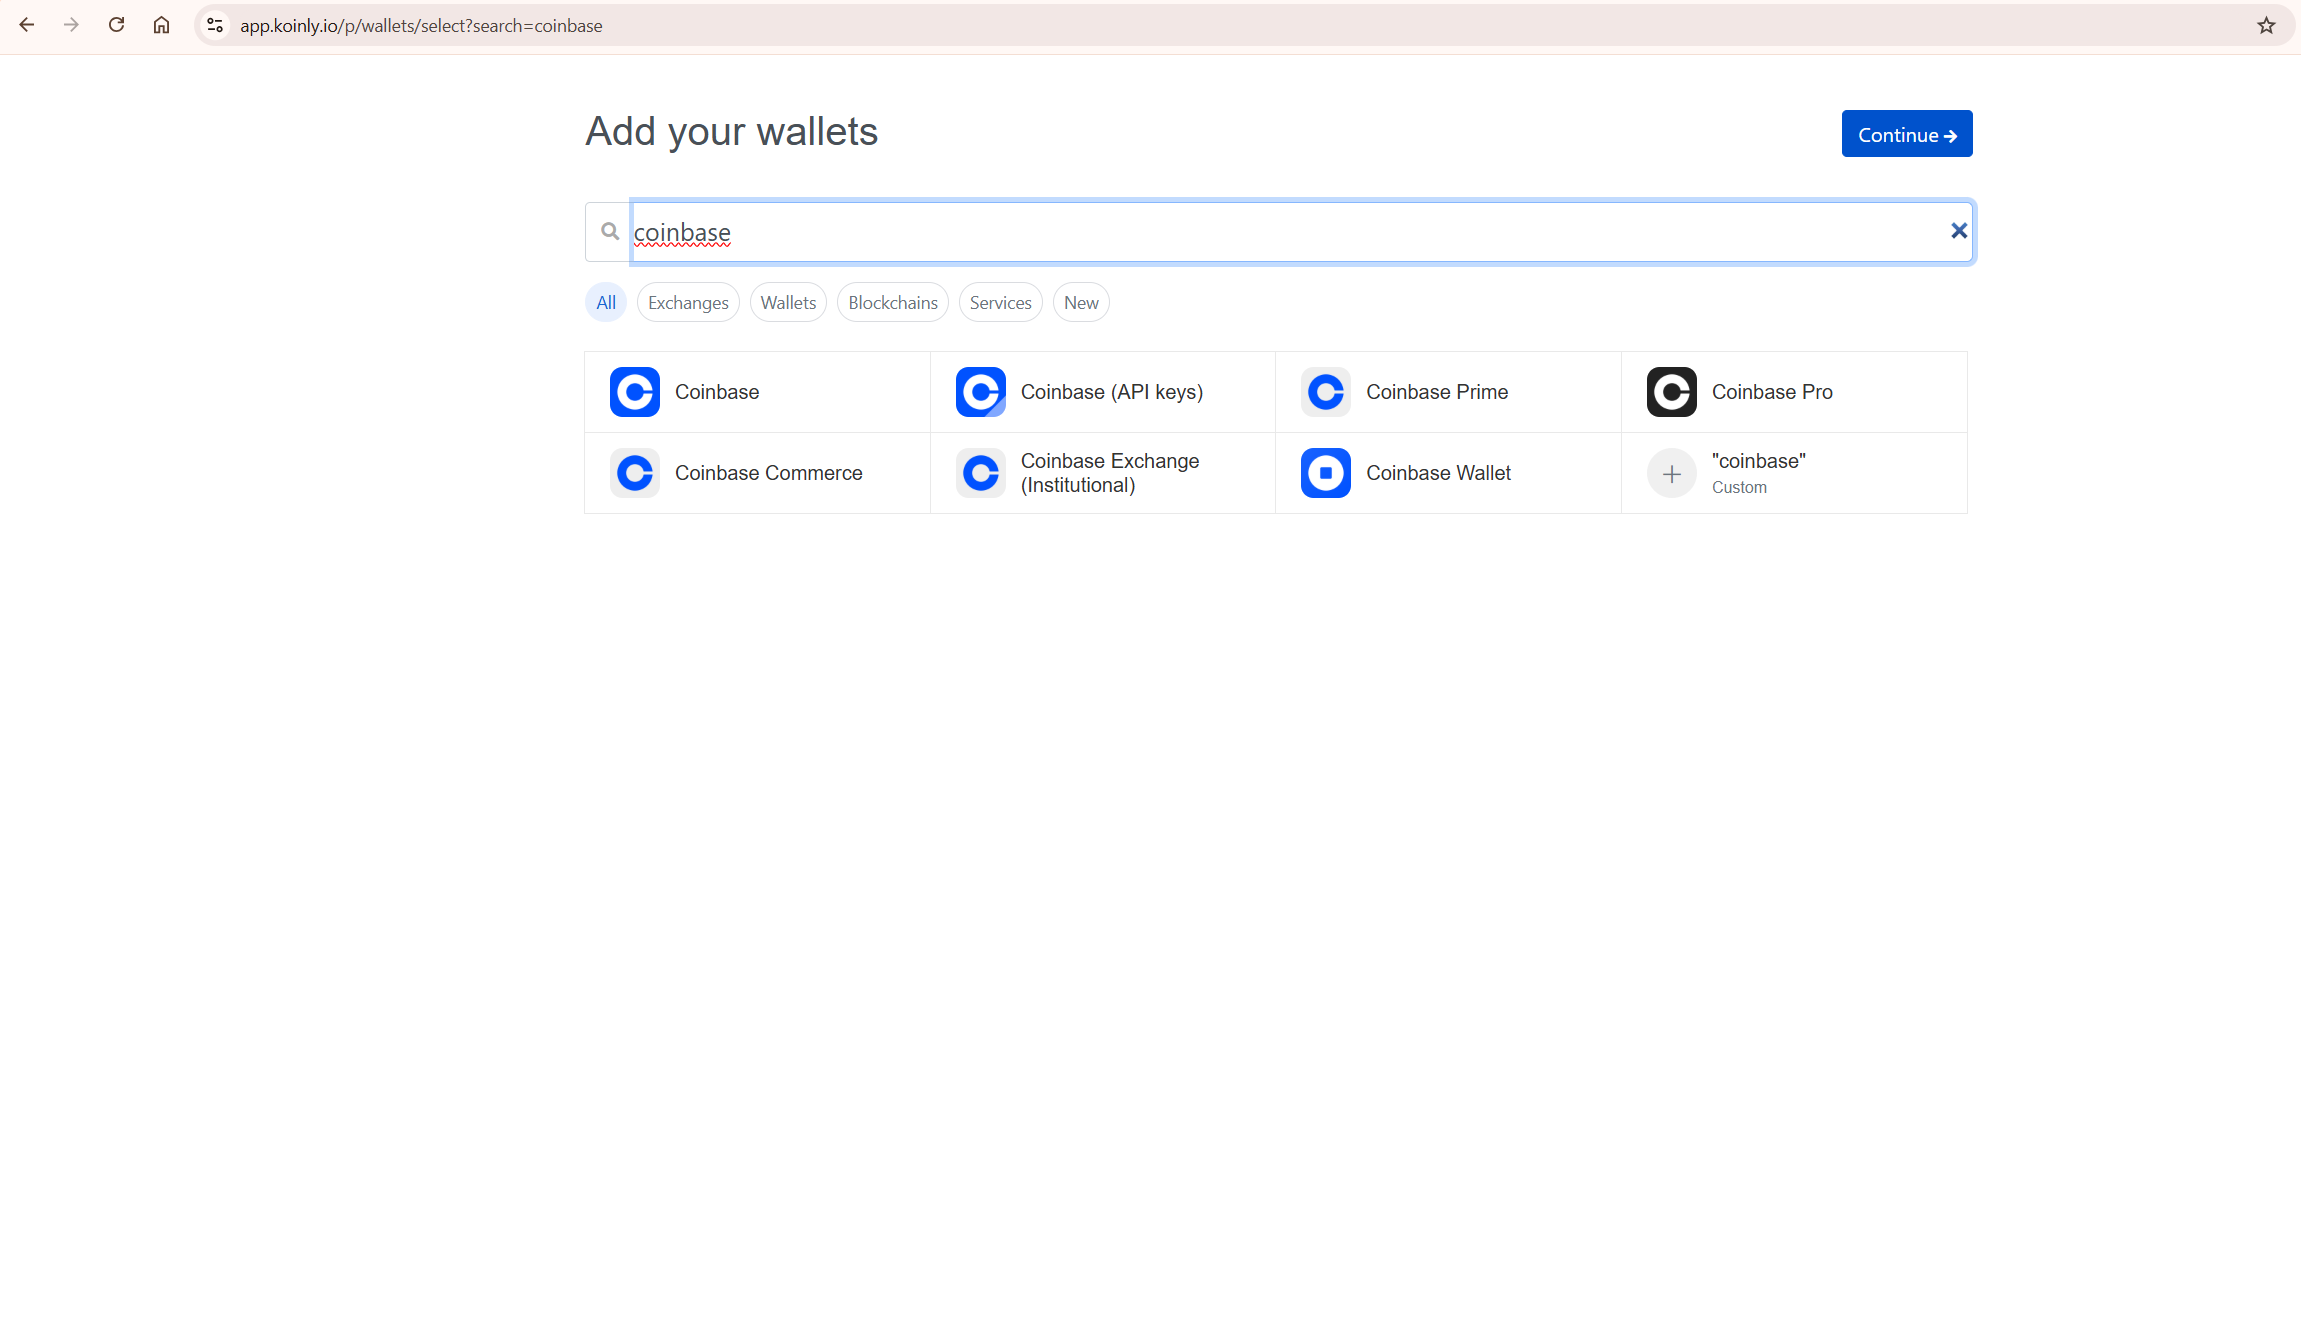
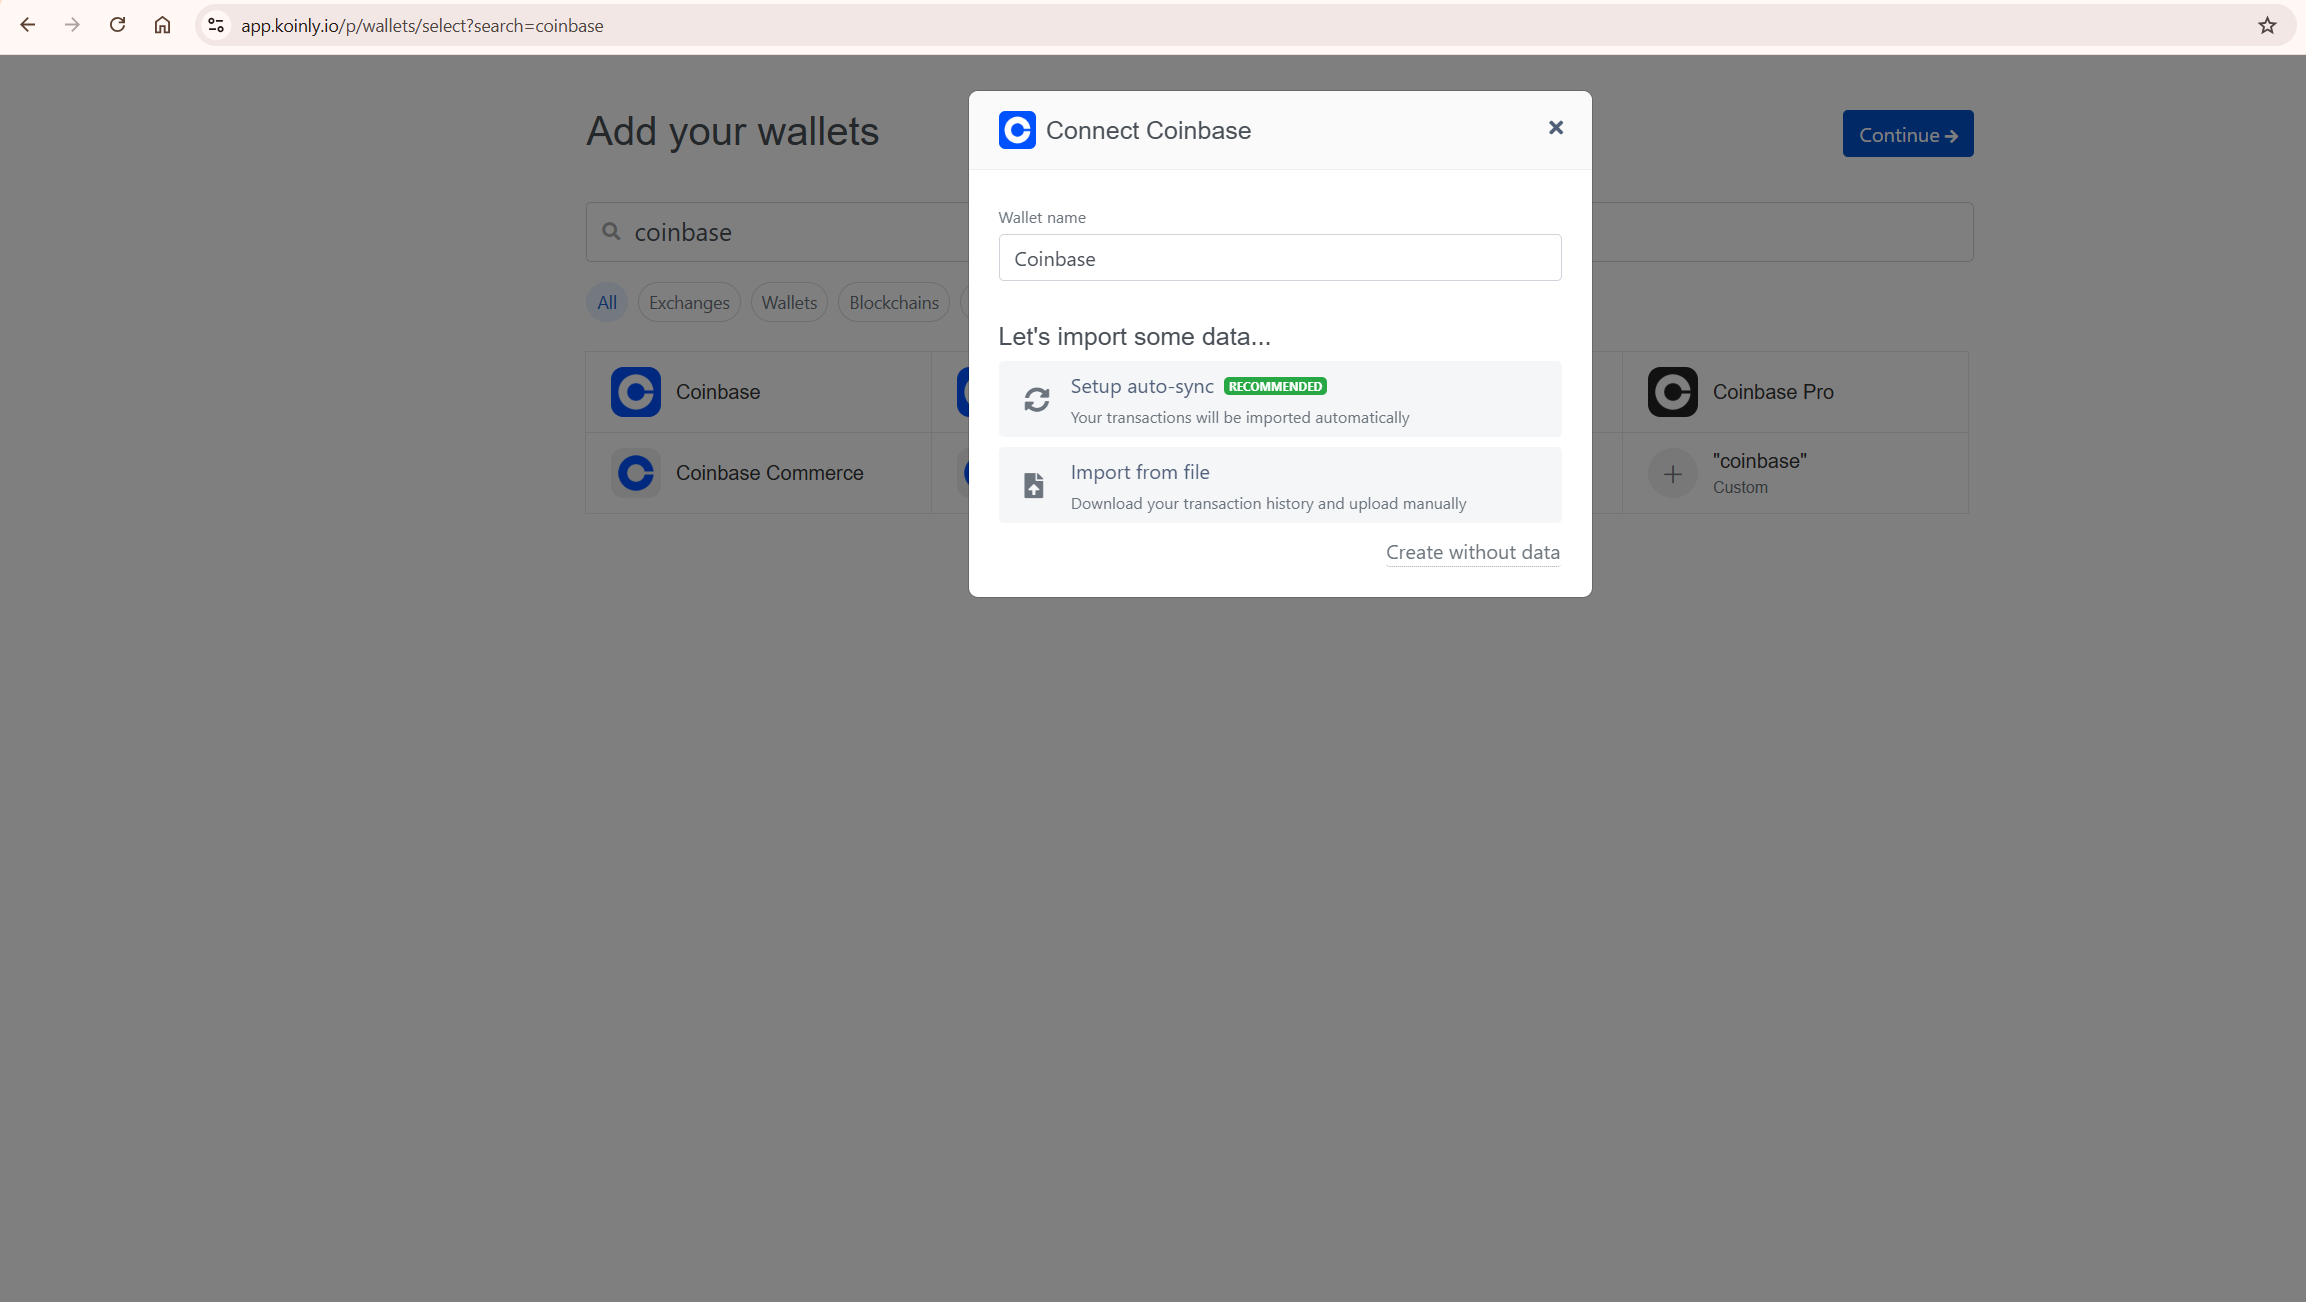
Step 3: Select Setup Auto-Sync. Click Setup Auto-Sync. This redirects you to Coinbase’s secure login page where you authenticate with your Coinbase credentials and approve read-only access for Koinly. The OAuth connection never shares your Coinbase password — it uses a secure token system that grants read-only data access only.
Step 4: Approve read-only access. On the Coinbase authorization screen, review the permissions being requested and approve. Verify that the permission being granted is read-only access to transaction history — no trading permissions, no withdrawal permissions. Once approved, Koinly immediately begins importing your complete Coinbase transaction history.
Step 5: Verify the sync is complete. After the import finishes, go to your Wallets page and check that the Coinbase wallet shows a transaction count that looks plausible given your trading activity. If the count seems significantly lower than expected, the sync may be incomplete — try refreshing or disconnecting and reconnecting the OAuth connection.
Method 2: CSV Import
CSV import is the right choice for users who cannot use OAuth, need to import historical data from a closed account, or want to reconcile a specific historical period manually.
To generate your Coinbase CSV: log in to Coinbase, go to your account settings, find the Statements or Tax section, and generate a transaction report for the relevant tax year or full history. Download the CSV file to your computer. In Koinly’s Add Wallet flow, select Import from File after choosing Coinbase, and upload the downloaded CSV.
The key limitation of CSV import: files are static snapshots. They do not update automatically when new transactions occur. For active traders, this creates the risk of perpetually incomplete data. For historical reconciliation of a closed account or a completed tax year, CSV is entirely adequate.
If you use CSV for multiple years, you need a separate file for each date range Coinbase allows you to export. If you have been trading since 2020 and import only a 2025 CSV, Koinly will have your recent disposals but no record of the original acquisitions — producing missing cost basis errors and inflated gains. Download and import CSV files covering your complete trading history from your first Coinbase transaction to the present.
Reviewing Your Transactions After Import
The import connection is step one — the transaction review phase is where accurate results are either secured or lost.
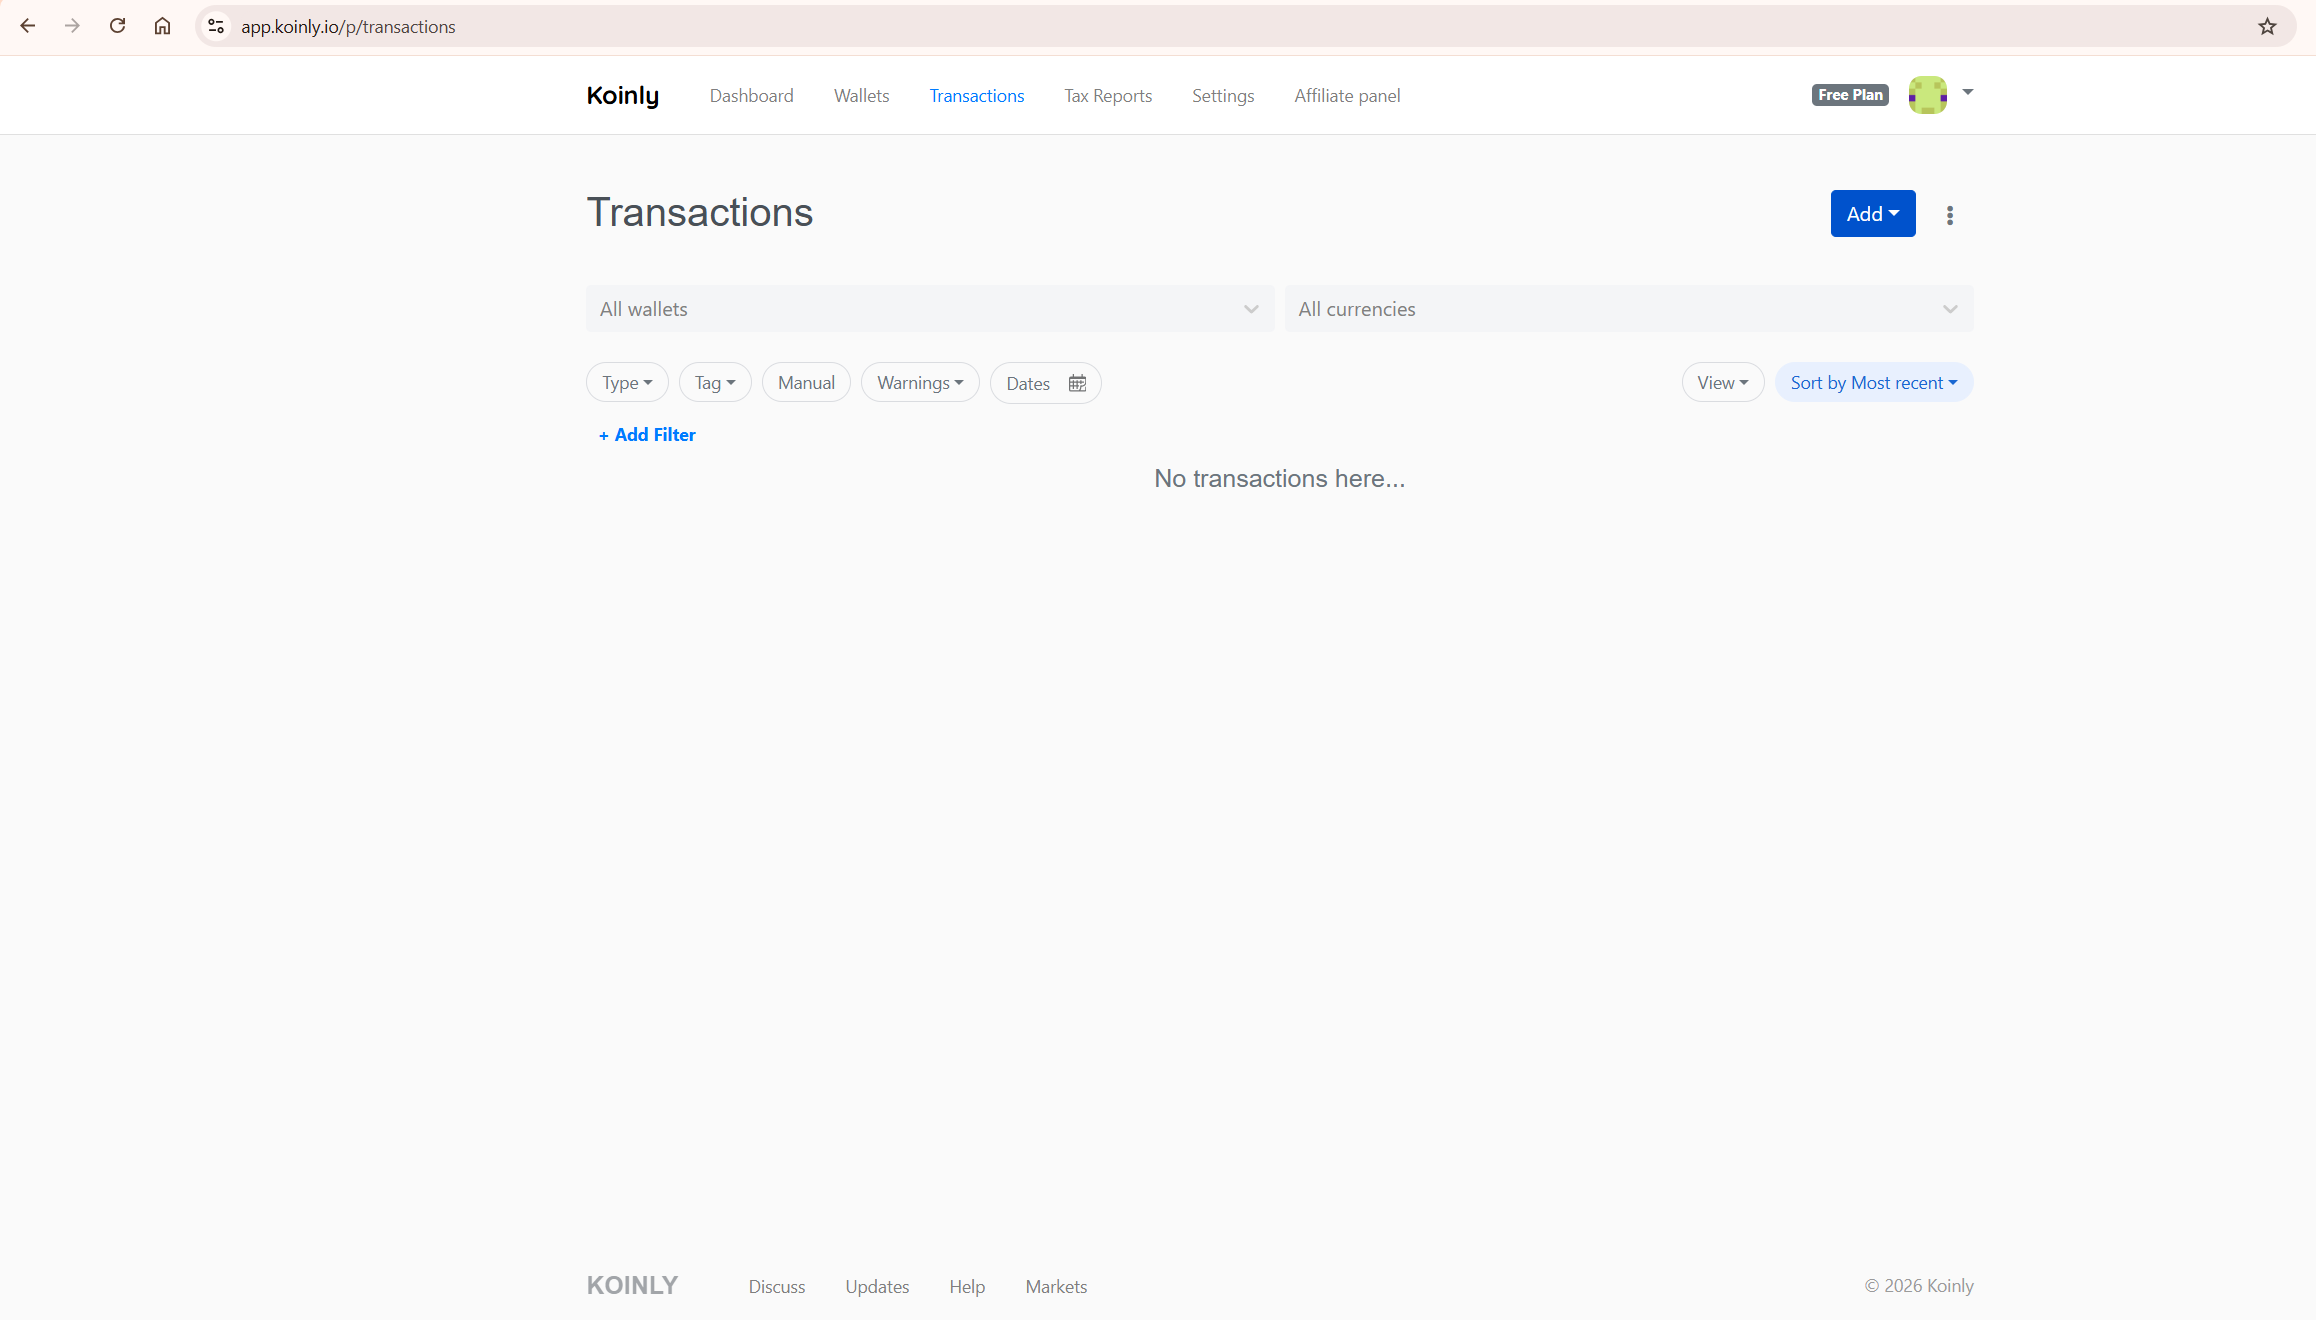
Go to the Transactions tab after your Coinbase import completes. Filter by status to find all transactions flagged as Unknown or Needs Review. Work through each one using your Coinbase account history or the relevant block explorer for on-chain transactions, and manually set the correct transaction type in Koinly’s transaction editor.
Specific transaction types to review carefully. Transfers between your own wallets — for example, sending Bitcoin from Coinbase to a Ledger hardware wallet — should be classified as transfers, not disposals. If the receiving wallet has not been added to Koinly, this transfer will appear as a disposal with a gain. Add the receiving wallet and the transfer will correctly resolve as a non-taxable movement.
Staking rewards and Coinbase Earn rewards should be classified as income at the fair market value at receipt. Coinbase Learn rewards are also typically classified as income. Crypto-to-crypto conversions on Coinbase are disposals of the outgoing asset and acquisitions of the incoming asset — confirm each conversion is recorded with the correct disposal value and acquisition cost.
For the complete framework on reviewing all transaction types accurately after any import, our how to use Koinly guide covers the full review process in detail. If your gains figure looks incorrect after completing the import and review, our Koinly showing wrong gains guide walks through the specific diagnostic steps.
Coinbase Advanced Trade: The Commonly Missed Step
Coinbase Advanced Trade — formerly Coinbase Pro — is a separate trading environment within the Coinbase ecosystem with its own transaction history. Many users add only the standard Coinbase connection and discover later that their Advanced Trade activity is missing entirely from Koinly.
When you search for Coinbase in the Add Wallet screen, select Coinbase Advanced Trade in addition to the standard Coinbase option and complete the connection for each separately. Current Coinbase API support includes Advanced Trade transactions, so recent activity should sync through this connection. If you used Coinbase Pro historically before the transition to Advanced Trade, sync that separately to ensure complete coverage — older Pro history may require a dedicated connection or CSV import to capture fully. If you are unsure whether your complete history is captured, check your transaction count against your known trading activity after syncing.
Transfers between your main Coinbase account and your Advanced Trade account are treated as transfers between your own wallets — non-taxable — provided both accounts are connected. Once both wallets are synced in Koinly, transfers between them should automatically resolve as non-taxable internal movements. If they are showing as disposals, verify both wallets are properly connected and re-sync.
Connecting Coinbase Alongside DeFi Wallets
If you also use DeFi wallets — MetaMask, Ledger, Trust Wallet — importing all wallets simultaneously is what enables correct transfer matching and prevents phantom disposals.
The scenario that causes the most problems: you buy ETH on Coinbase, transfer it to MetaMask, participate in DeFi with it, and later send it back to Coinbase to sell. You need Coinbase connected for the original purchase and the final sale, MetaMask connected for all the DeFi activity in between, and any other wallets or protocols involved in the chain. When all wallets are connected, Koinly traces the asset from its original Coinbase purchase through the MetaMask DeFi activity to the final Coinbase sale — correctly calculating the gain against the original acquisition cost.
According to HMRC’s cryptoassets guidance, transferring crypto between wallets you beneficially control is not a disposal for UK Capital Gains Tax purposes — the same principle applies in most jurisdictions. Both the sending and receiving wallet must be connected to your Koinly account for this to resolve correctly. If only Coinbase is connected, the outbound transfer appears as a disposal. Add MetaMask and it correctly resolves as a non-taxable transfer.
Accounting Method: The Step Most Users Skip
After completing the import and reviewing your transactions, verify your accounting method in Settings before generating any report. This step is frequently skipped and produces a correctly calculated result under the wrong jurisdiction’s rules.
Go to Settings, find the Cost Basis Method section, and confirm the correct method is selected for your jurisdiction. In the US, FIFO is the standard default and HIFO is also available. In the UK, Section 104 pooling applies automatically when your country is set to UK. In Germany, FIFO applies. In Australia, the CGT discount method applies for assets held over 12 months. Selecting the wrong method produces a technically correct calculation under the wrong rules — which is still wrong for your filing.
For the full pricing breakdown and which Koinly plan covers your transaction volume, our Koinly pricing guide covers every detail. Explore Koinly’s current plan options here.
Common Problems and How to Fix Them
These are the specific errors that cause incorrect results after what appears to be a successful Coinbase import.
Duplicate transactions from mixing OAuth and CSV. If you previously imported a Coinbase CSV and then switch to OAuth auto-sync, you will have the same transactions imported twice — inflating your transaction count and distorting your gains. The fix: delete the old CSV wallet in Koinly, then reconnect via OAuth. Never run both import methods for the same account simultaneously.
Missing Advanced Trade history. If you have used Coinbase Advanced Trade, add it as a separate wallet. Many users add only the standard Coinbase connection and discover later that their Advanced Trade history — which may include a significant portion of their trading activity — is missing entirely.
Incomplete historical CSV coverage. If you used CSV import, verify you have downloaded and uploaded files covering every year of your Coinbase activity. A CSV covering only 2024 and 2025 for an investor who started trading in 2020 produces missing cost basis errors for every asset acquired before 2024.
Transfers showing as disposals. Add every wallet you have ever sent Coinbase assets to. Any outbound transfer from Coinbase to a wallet that is not connected to your Koinly account will appear as a disposal. The fix is adding the missing wallet — not manually editing the Coinbase transaction.
Staking rewards misclassified. Filter your transactions after import and look for Coinbase staking rewards, Coinbase Earn rewards, and learning rewards. Verify each one is classified as Income or Staking rather than a plain Receive transaction. Income classified as Receive does not appear in your income total — understating your taxable income.
Free plan transaction limit reached. The free plan supports up to 10,000 transactions. If your Coinbase history exceeds this, calculations will halt until you upgrade to a plan that covers your transaction volume. Check your transaction count in the Wallets tab after import and upgrade before generating any report if needed.
Reconciling Your Koinly Position with Coinbase 1099 Forms
If you have received a 1099 form from Coinbase, understanding the relationship between exchange-issued forms and your Koinly-calculated position is important before filing.
Coinbase 1099 forms report specific categories of activity to you and the IRS — typically income events for 1099-MISC and transaction proceeds for 1099-DA. What Coinbase’s forms do not capture: your complete cost basis across all exchanges and wallets, transfers between your own wallets that are not disposals, or activity on other exchanges that affects the gain calculation on assets that moved between platforms.
Your Koinly import captures everything Coinbase has, plus all your other exchange and wallet data, enabling you to calculate the complete and accurate gain figure that aligns with your full trading history rather than just one exchange’s view. If your Koinly gain figure differs from what Coinbase’s 1099 shows, this is expected and does not necessarily indicate an error. Your filed return should use the Koinly-calculated figure — but you may need to reconcile the difference with an accountant if the discrepancy is significant. For the full explanation of how Koinly interacts with IRS reporting, our does Koinly report to the IRS guide covers this in detail.
What To Do Next
Do this today — it takes under 15 minutes to get your Coinbase data into Koinly correctly:
Log into Koinly and go to Wallets. Click Add Wallet and search for Coinbase. Select Setup Auto-Sync and complete the OAuth connection. If you have used Coinbase Advanced Trade, add that as a separate wallet immediately after. Once both syncs complete, go to the Transactions tab and filter by Warnings. Work through every flagged transaction before doing anything else. Do not generate a report until all flags are resolved and all wallets you have ever used are connected.
Once your Coinbase import is complete and verified, apply the same process to every other exchange and wallet in your portfolio. Koinly’s accuracy scales directly with the completeness of your data.
For the complete Koinly setup guide covering every exchange and wallet type, our how to use Koinly guide covers every step from account creation through report generation. For the full platform evaluation including pricing, DeFi support, and accuracy methodology, read our complete Koinly review.
Get started with Koinly’s free plan here — import your complete Coinbase history and review your calculated gains before committing to a paid report.
Frequently Asked Questions
Is OAuth safer than CSV for importing Coinbase into Koinly?
Yes — OAuth is more secure because you never share your Coinbase password with Koinly and the connection uses a read-only token that can be revoked from your Coinbase account at any time. CSV import requires downloading sensitive transaction data to your local device and uploading it, which creates additional points of potential data exposure. For active traders importing regularly, OAuth is the better choice on both security and convenience grounds.
Do I need to import Coinbase Advanced Trade separately?
For recent Advanced Trade activity, the current Coinbase API connection includes support for Advanced Trade transactions. However, if you used Coinbase Pro historically before the transition to Advanced Trade, that older history still requires a separate sync. Add Coinbase Advanced Trade as a distinct wallet in Koinly and check your transaction count after syncing to confirm your full history is captured.
Why do my Coinbase gains look wrong in Koinly after import?
The most common causes are missing wallets (any wallet you sent Coinbase assets to that is not connected appears as a disposal), incomplete historical CSV coverage (missing original acquisition data produces zero cost basis), and Coinbase Advanced Trade not being added separately. Work through the missing wallet import first — this resolves the majority of incorrect gains figures. If the problem persists, our Koinly showing wrong gains guide covers the complete diagnostic process.
How far back does Koinly import Coinbase history?
The OAuth auto-sync imports your complete Coinbase transaction history from account opening to the present — there is no cut-off on historical depth. For CSV import, the historical depth depends on how far back Coinbase allows you to generate statements, typically your full account history. If you have been a Coinbase user since 2017 or earlier, importing your complete history is essential for correct cost basis calculation on any assets you still hold.
What is the free plan transaction limit on Koinly?
The free plan supports up to 10,000 transactions. You can import, connect unlimited wallets, and view your gains and tax summary on the free plan — but you cannot generate a downloadable tax report until you upgrade. If your transaction count exceeds 10,000, calculations halt until you purchase a plan that covers your volume. For most casual Coinbase users, the free plan is sufficient to review your tax position before deciding whether to upgrade. Our Koinly pricing guide covers every plan tier and transaction limit in detail.
