
How to Use Koinly: Best Complete Step-by-Step Guide (2026)
This article contains affiliate links. If you sign up for Koinly through a link on this page, I may earn a commission at no extra cost to you. I only recommend tools I have genuinely evaluated.
This article is for informational purposes only and does not constitute professional tax or financial advice. Tax laws vary by country and change frequently. Consult a qualified tax professional for advice specific to your situation.
If you have just created a Koinly account and are staring at the dashboard wondering where to actually start — or if you imported your exchanges but your gains figure looks completely wrong and you have no idea why — this guide walks through the complete setup process with the specific details that most guides skip. Getting Koinly right is less about clicking buttons and more about understanding what the platform needs from you to produce accurate results, and what you need to review before trusting any number it shows you.
The platform automates a significant amount of the calculation work — but crypto tax accuracy depends entirely on the completeness and quality of the data you feed into it. After 30 years in finance, I am Andreas Maratheftis, and I understand the difference between a system that looks like it is working and a system that is actually producing correct outputs. This guide makes sure you end up with the latter.
By the end of this guide you will know exactly how to set up your Koinly account, connect your exchanges and wallets correctly, review your transaction data systematically, select the right accounting method for your jurisdiction, and generate tax reports you can confidently share with your accountant or submit to your tax authority.
The free plan is enough to follow all the setup steps in this guide. Create your free Koinly account, connect one exchange, and review the imported transactions before deciding whether you need a paid plan.
Quick Answer: How to Use Koinly
Use Koinly in five steps: create a free account at koinly.io, go to Wallets and connect every exchange and wallet you have ever used via API key or public wallet address, wait for Koinly to import and sync your transaction history, review all flagged transactions before proceeding, select your jurisdiction’s accounting method in Settings, then upgrade to a paid plan and download your tax report. The single most important thing to understand: the platform’s accuracy depends entirely on the completeness of your data. Missing wallets and unreviewed flagged transactions are the cause of almost every incorrect gains figure — not errors in Koinly’s calculation engine.
What Koinly Does — and Does Not Do
Understanding the platform’s actual role eliminates the most common source of user frustration before you begin.
| Koinly Does | Koinly Does Not Do |
|---|---|
| Import transaction data from exchanges and wallets | File your taxes on your behalf |
| Identify taxable events automatically | Guarantee tax compliance or accuracy without complete data |
| Calculate gains and losses using your chosen method | Provide legal or tax advice |
| Generate downloadable tax reports in multiple formats | Connect to tax authorities directly |
| Flag transactions that need manual review | Resolve flagged transactions automatically |
| Support 750+ exchanges and all major blockchains | Import data from sources you have not connected |
Koinly is a calculation and reporting tool, not a filing tool. The reports it produces are for you to submit yourself or provide to your accountant. This distinction matters because the output should be treated as documentation to be reviewed — not a finished return to be submitted automatically.
Every crypto-to-crypto trade is a taxable disposal in most jurisdictions. Every staking reward is taxable income at receipt. Every DeFi interaction can generate multiple taxable events simultaneously. According to IRS digital assets guidance, all of these events require reporting — which is exactly why manual tracking is impossible at scale and why a tool like Koinly exists. For a complete evaluation of everything the platform offers, our Koinly review covers every feature in detail.
Step 1: Account Setup
Go to koinly.io, click Sign Up and create your account with your email address. No payment is required at this stage. The free plan gives you full access to the import and review functions, which means you can evaluate the platform’s accuracy for your specific transaction history before committing to a paid plan.
Once your account is created, go to Settings immediately and configure two things before importing any data. First, set your home country — this determines which tax rules Koinly applies and which report formats are available. Setting the wrong country produces reports calculated under the wrong jurisdiction’s rules, which is a significant error. Second, set your base currency to the currency you report taxes in — typically your local fiat currency. All gains and losses will be calculated in this currency.
These two settings must be correct before you connect any exchanges. Changing them after importing data requires recalculation and can cause confusion. Set them first, then proceed.
Step 2: Connecting Your Exchanges
The exchange connection step is the most consequential in the entire setup process. The accuracy of everything that follows depends entirely on whether all your data sources are connected correctly and completely.
Go to Wallets in the left navigation and click Add Wallet. Search for your exchange by name — Binance, Coinbase, Kraken, Bybit, OKX, and hundreds of exchanges are supported — check koinly.io for the current full list. For centralised exchanges, the connection method is a read-only API key. Go to your exchange’s API management section, create a new API key with read-only permissions only — explicitly disable trading and withdrawal permissions — copy the API key and secret into Koinly, and save. The connection syncs your complete transaction history automatically.
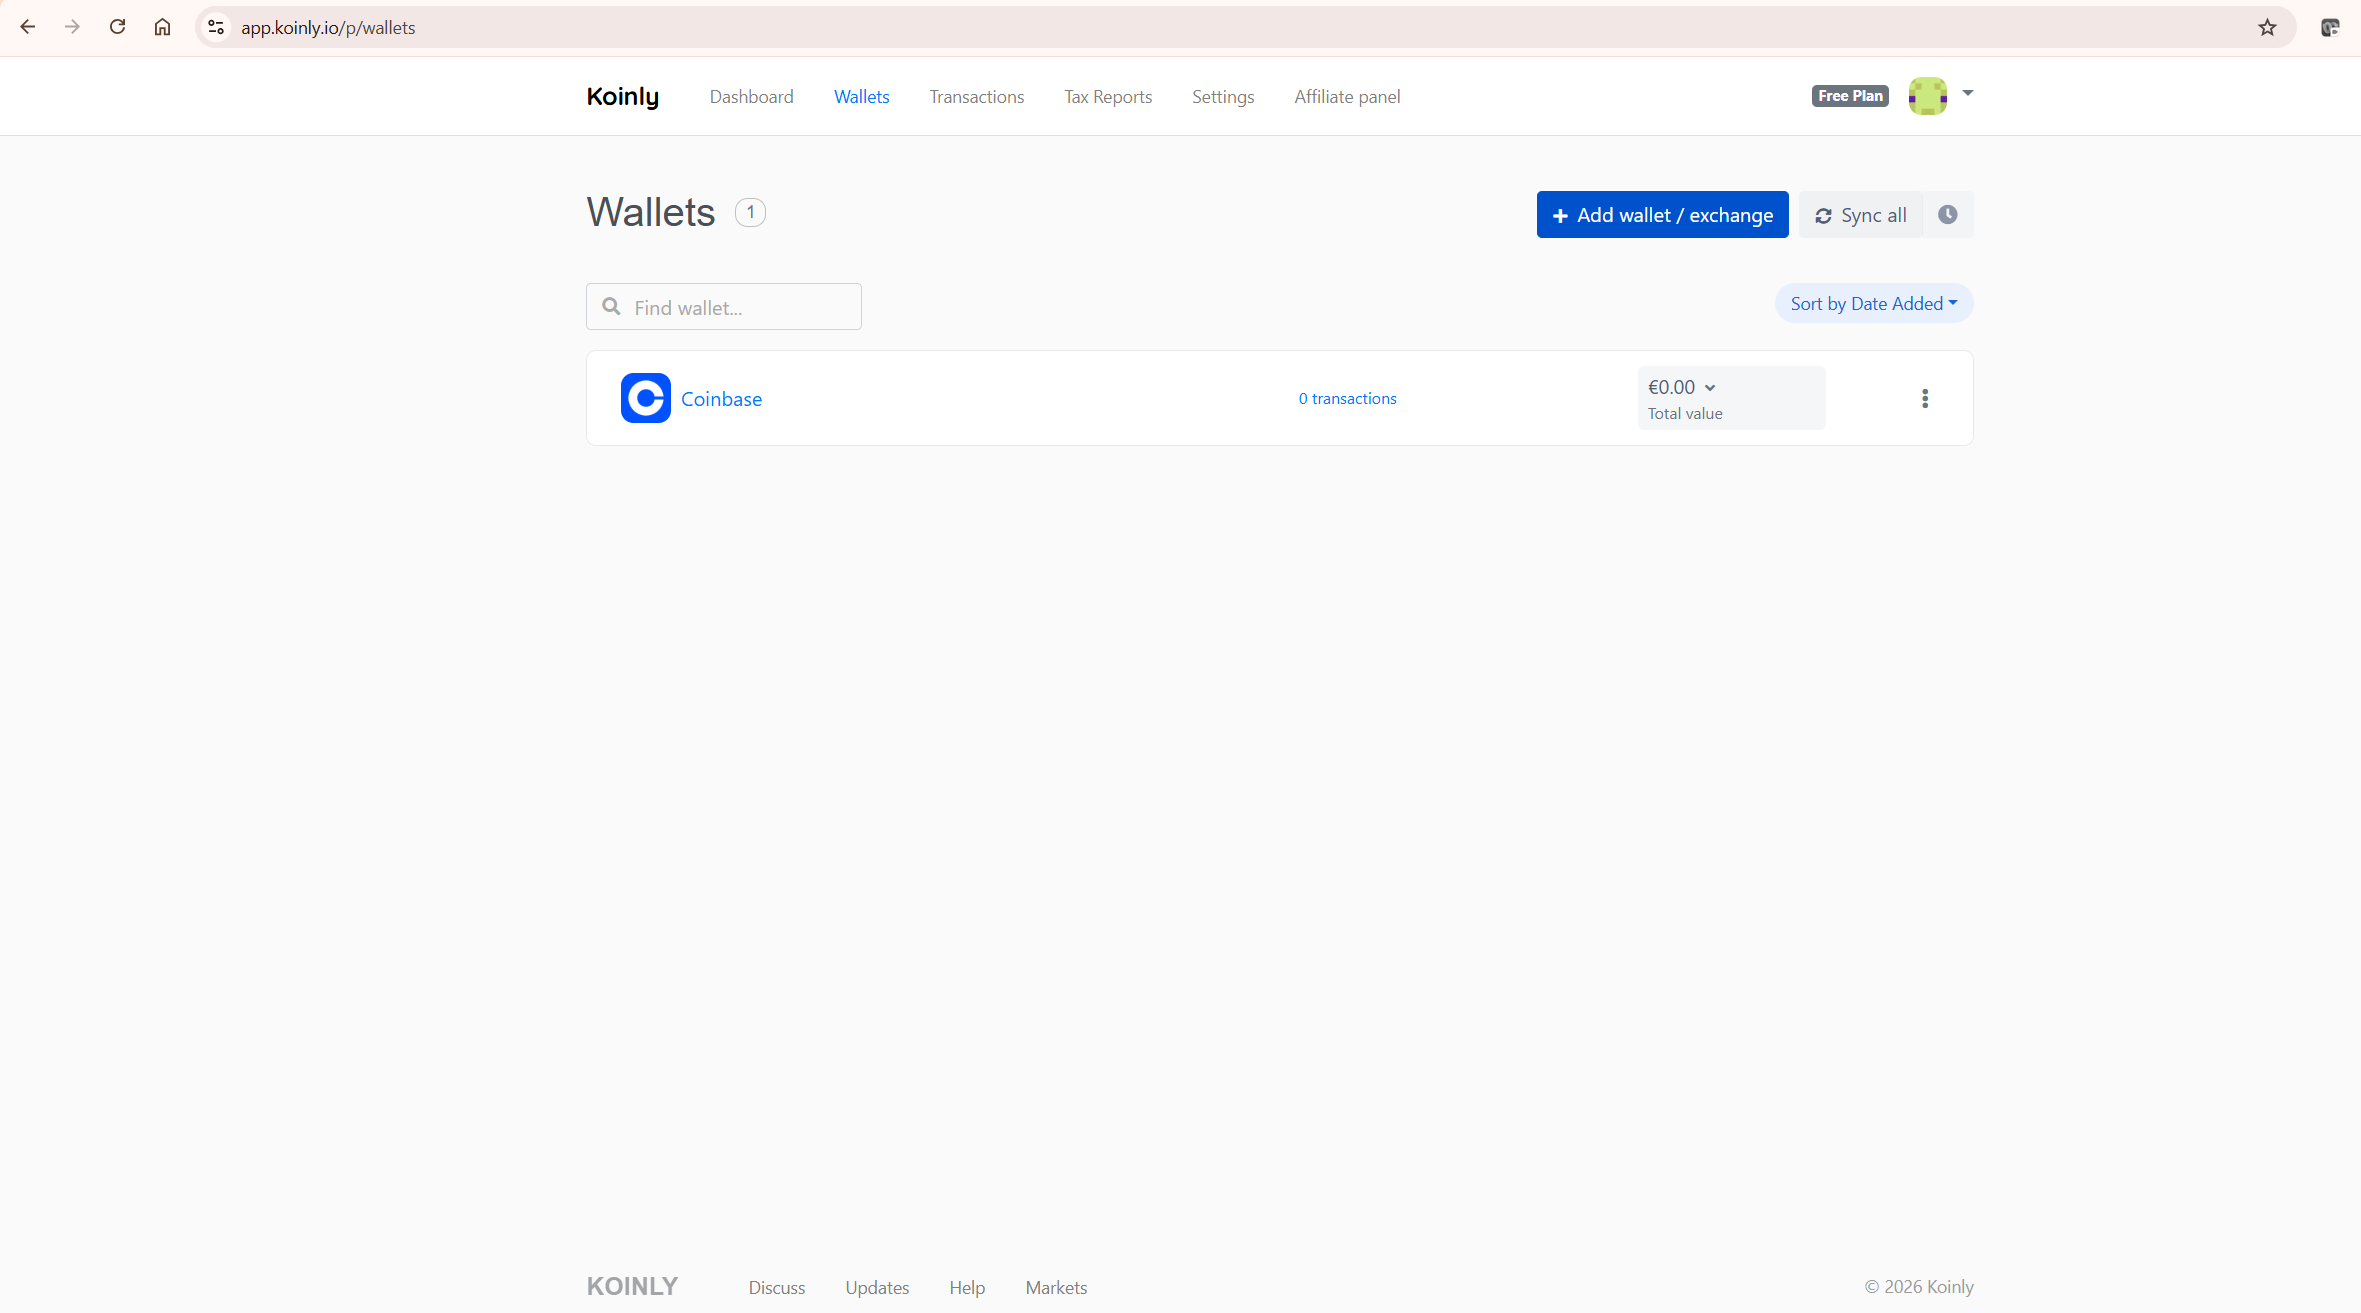
The critical rule: add every exchange and wallet you have ever used — including accounts you no longer actively trade on, exchanges you used only briefly, and hardware wallets that have been sitting in a drawer for two years. Incomplete source data produces missing cost basis errors that cascade through your entire transaction history. If Koinly cannot find where a token came from, it cannot calculate the gain on its eventual disposal correctly.
For exchanges that do not support API connections, Koinly accepts CSV file imports. Download your transaction history from the exchange, go to the exchange’s wallet in Koinly, and upload the CSV. Check the date range of the CSV carefully — some exchanges limit exports to a specific period, which means you may need multiple CSV files to cover your complete history on that platform.
Step 3: Connecting Your Wallets
For non-custodial wallets — MetaMask, Ledger, Trezor, Phantom, or any other self-custody wallet — the connection method is your public wallet address. Go to Add Wallet, search for the blockchain — Ethereum, Bitcoin, Solana, Polygon, BNB Chain — and paste your public wallet address. Koinly reads your complete on-chain transaction history directly from the blockchain, including all DeFi interactions, token swaps, NFT transactions, and staking activity.
You never need to provide your private key or seed phrase — any tool that requests these for tax reporting is not legitimate.
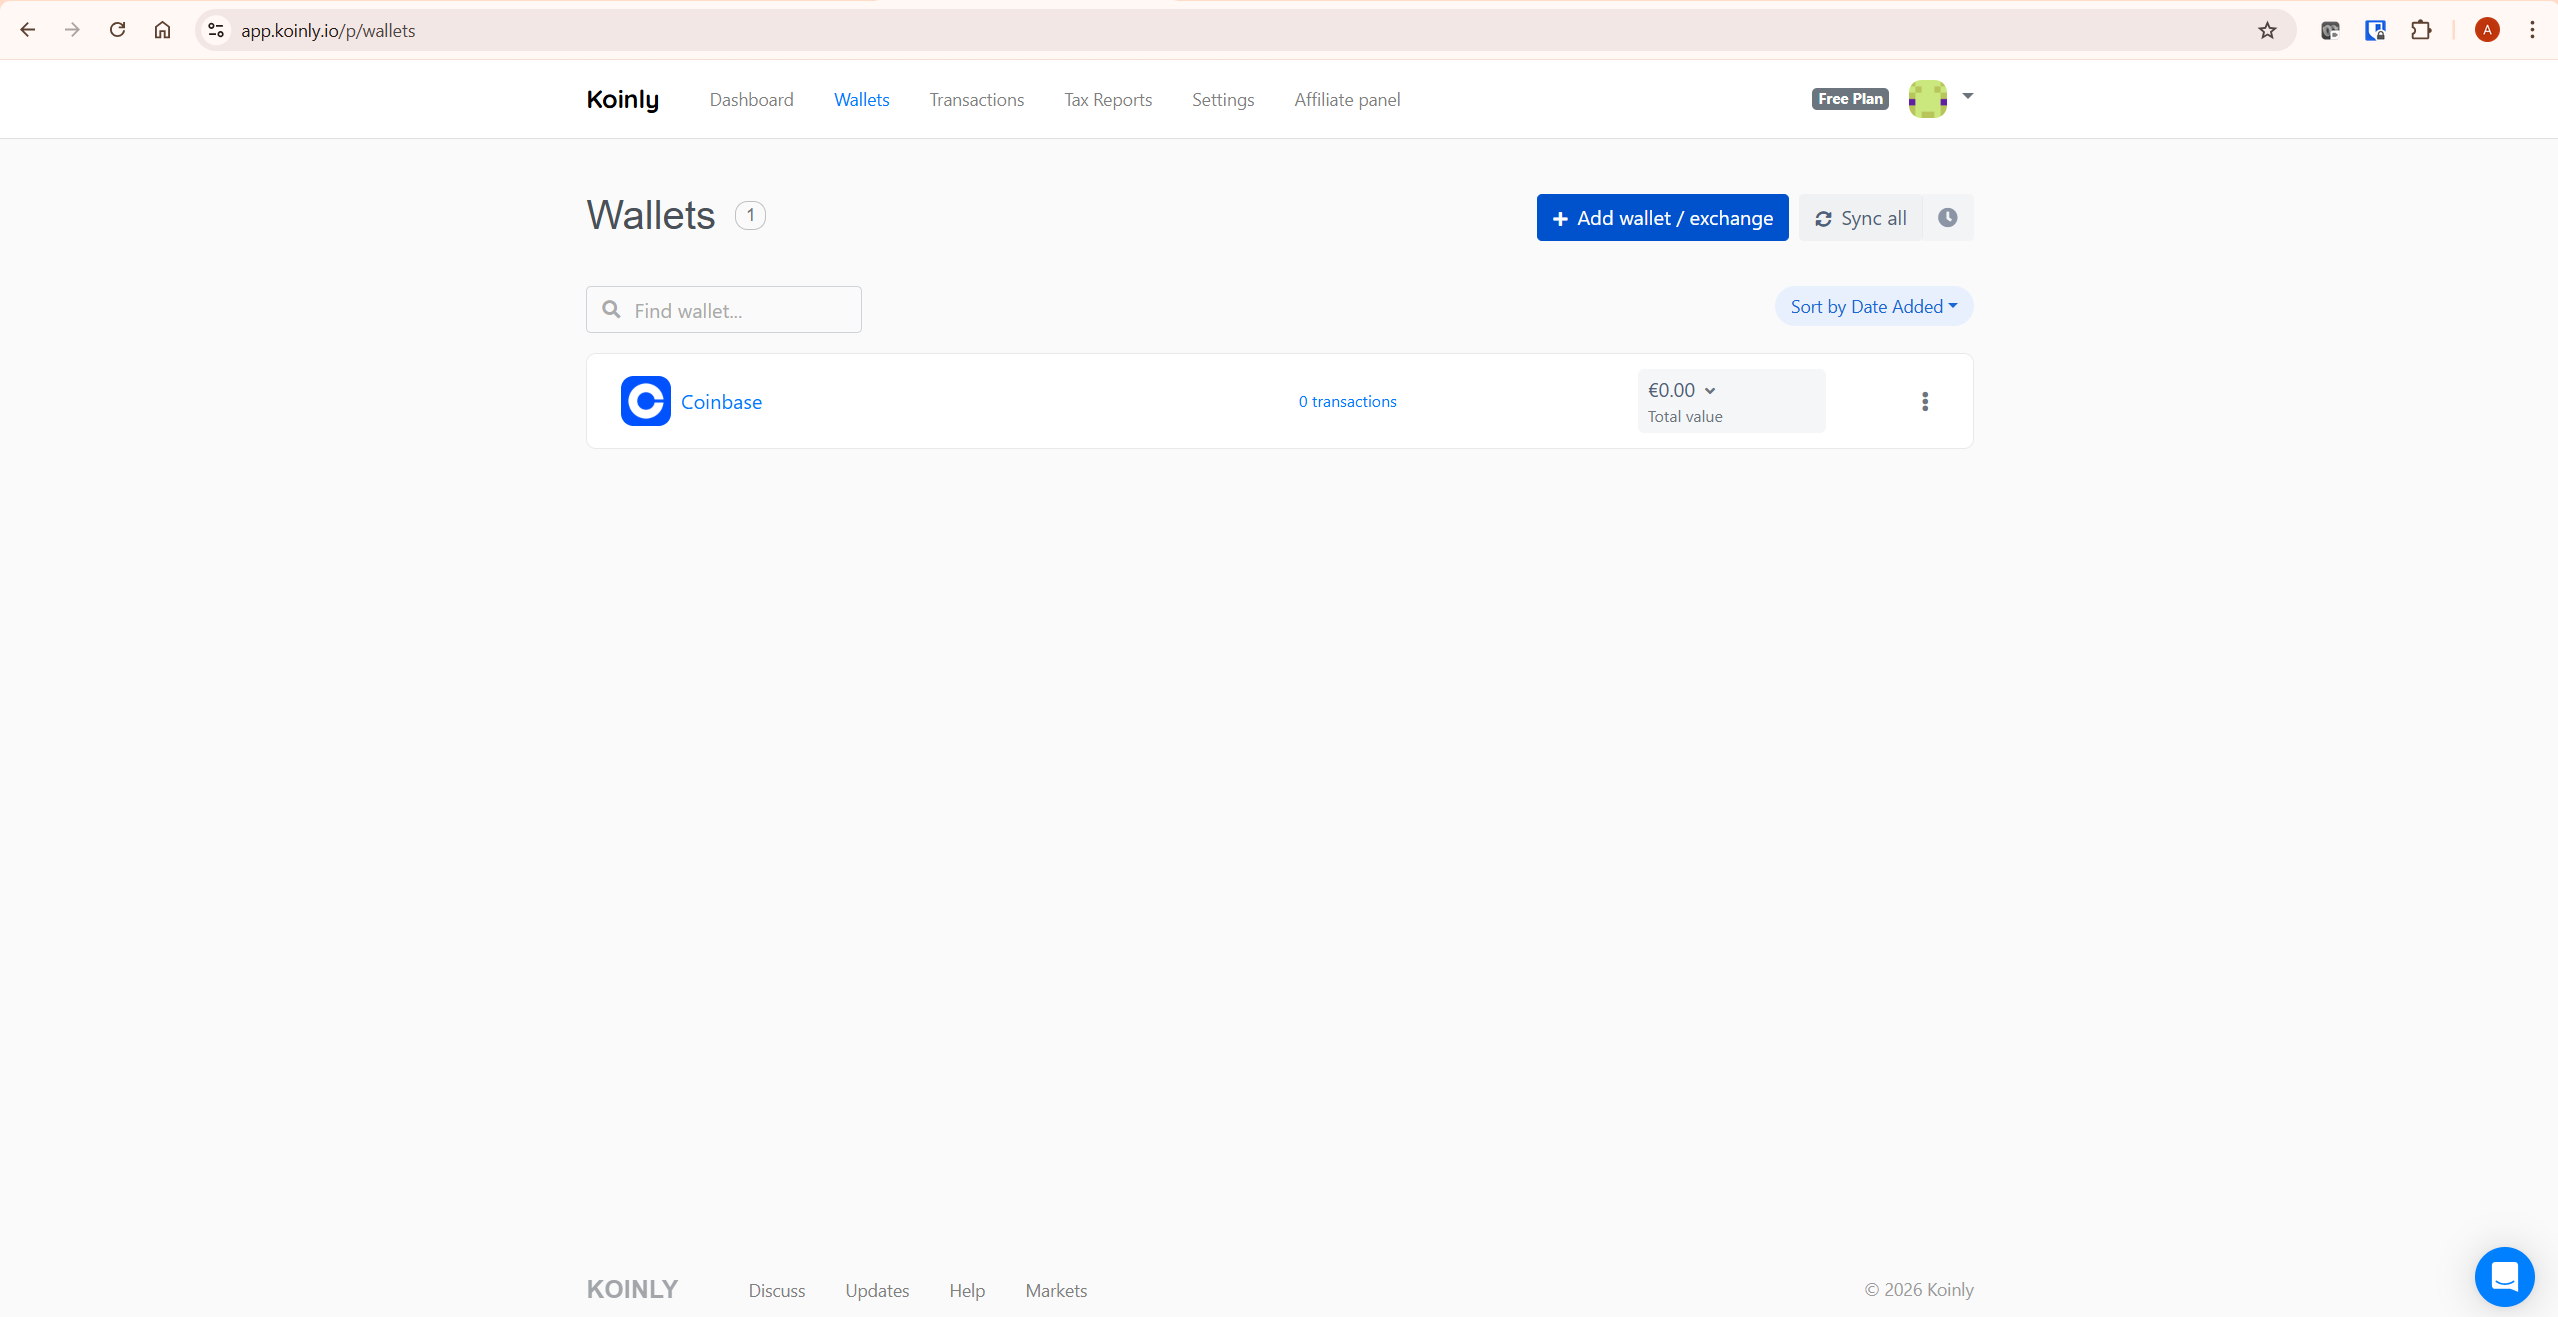
If you use multiple addresses on the same blockchain — for example, three different Ethereum wallet addresses — add each one separately. Koinly treats each address as a separate wallet but recognises transfers between wallets that are both within your account as non-taxable internal transfers rather than disposals. This is one of the most important automatic features in the platform — it prevents the phantom gain that would otherwise occur every time you move crypto between your own wallets.
Step 4: Reviewing Your Transactions
After all your exchanges and wallets are connected and synced, the transaction review is where most users either get it right or introduce errors that affect their final report. Do not skip this step.
Go to the Transactions tab. Start by filtering for transactions flagged as “needs review” or “unknown.” These are transactions Koinly imported but could not confidently classify. For each flagged transaction, check what actually happened using your exchange history or a block explorer like Etherscan, then manually set the correct transaction type in Koinly’s transaction editor.
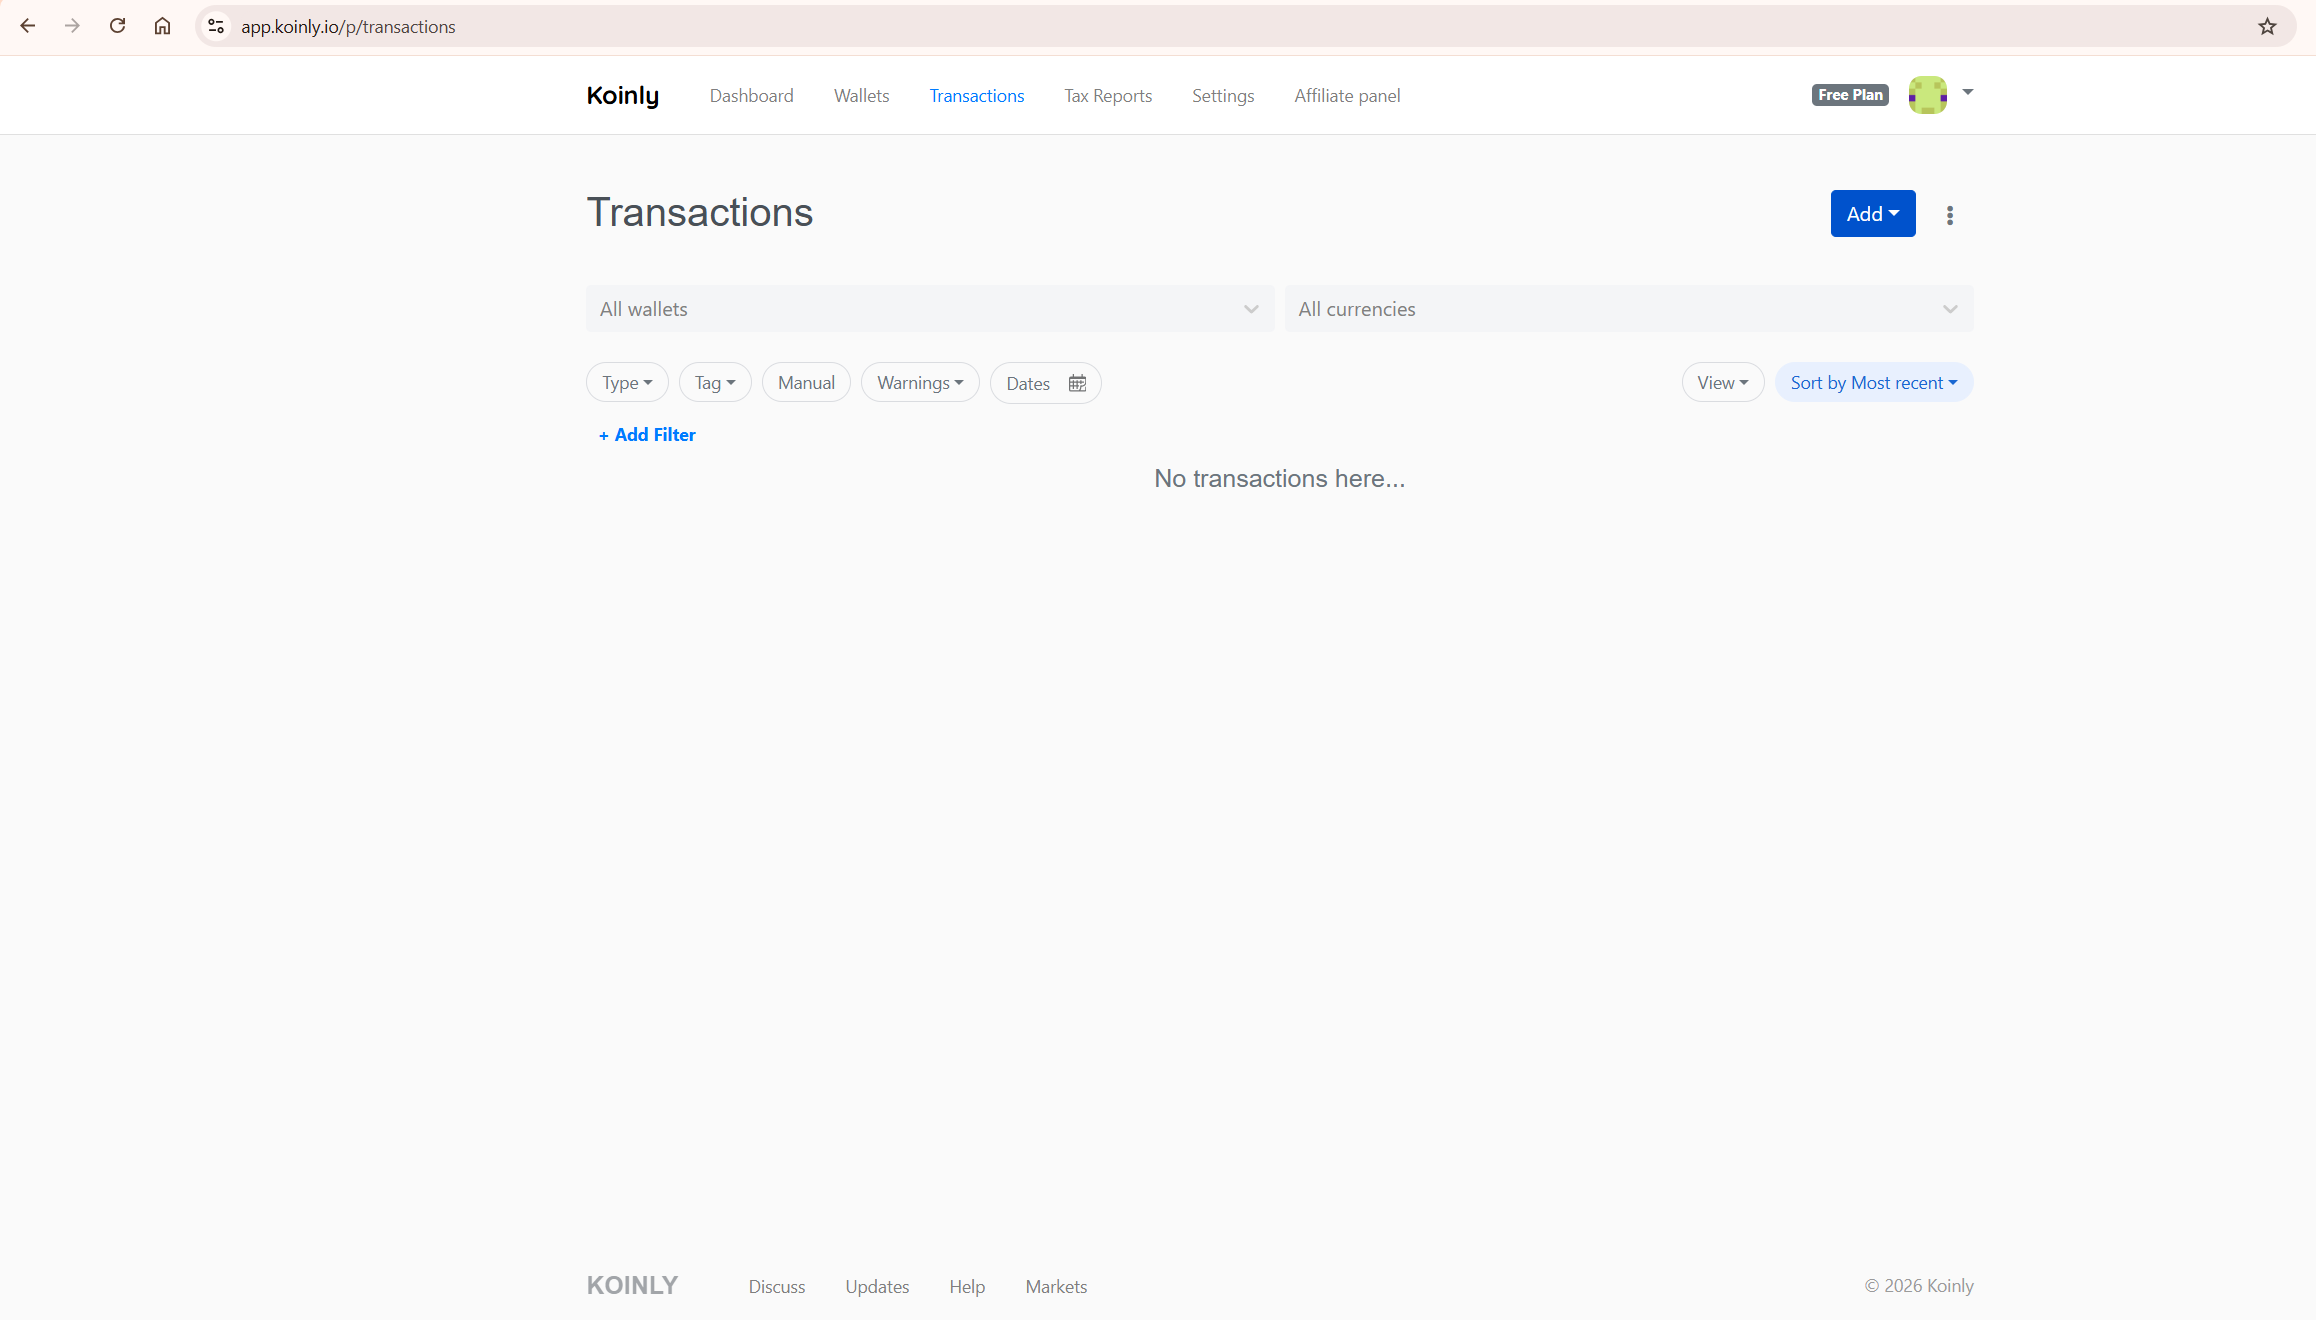
Specific classification guidance: transfers between your own wallets should be classified as transfers, not trades. Staking rewards should be classified as income. Liquidity pool deposits may need manual review to confirm the disposal treatment is correct for your jurisdiction. NFT minting transactions should show the acquisition cost including gas fees as the cost basis.
Pro tip: Wait until every wallet shows a zero warning count before purchasing a paid report. Spending ten extra minutes resolving warnings now is almost always faster than trying to correct an already-generated report later — and it means you only pay once for a report you can actually use.
According to Koinly’s official tax review guide, the most common cause of incorrect gain calculations is missing wallet imports rather than platform errors. If your gains figure looks wrong after reviewing flagged transactions, check our Koinly showing wrong gains guide for the specific diagnostic steps.
Step 5: Selecting Your Accounting Method
The accounting method is one of the most impactful decisions in the entire setup process — different methods produce significantly different gain calculations for the same transaction history.
Go to Settings and find the Cost Basis Method section. In the United States, FIFO (First In, First Out) is the most commonly used method and is generally the safest default for US investors. HIFO (Highest In, First Out) is also available and often produces lower taxable gains — but requires more careful documentation. In the United Kingdom, Section 104 pooling applies automatically when you set your country to UK. In Australia, the CGT discount method applies for assets held over 12 months.
Koinly automatically applies certain jurisdiction-specific rules where applicable, but always verify that the selected method matches your local tax requirements before generating a final report. You can switch between methods and see the recalculated gains immediately. This is a genuinely useful feature for understanding how method selection affects your tax position — but do not change your accounting method after filing a tax return without consulting a tax professional, as consistency between years is generally required. For a full breakdown of which plan includes which report formats for your jurisdiction, our Koinly pricing guide covers every detail.
Step 6: Generating Your Tax Report
Report generation is the final step — and it only makes sense to reach this step after completing the transaction review. Generating a report before resolving flagged transactions produces a report built on incomplete data.
Once your flagged transaction count is zero or as close to zero as possible, go to Tax Reports in the left navigation. Select the tax year you need the report for, choose your report format — the options depend on your country setting — and click Generate Report. You will be prompted to upgrade to a paid plan if you have not already done so.
Koinly’s paid plans are based on transaction count per tax year. Once you have upgraded, download your report — it includes a capital gains summary, income report, and transaction-level detail showing how each gain was calculated. This transaction-level detail is what provides the audit trail that tax authorities expect to see if they scrutinise your crypto reporting.
Explore Koinly’s current plan pricing here.
Specific Scenarios: Binance, Coinbase, and DeFi
These are the three most common scenarios that require additional attention beyond the standard setup steps.
Binance API connection. Create a read-only API key in Binance’s API Management section, ensuring trading and withdrawal permissions are disabled. Paste the key and secret into Koinly’s Binance wallet setup. Binance API connections cover spot trading history. If you have also used Binance futures or Binance Earn products, check whether these are covered by the same API or require separate connections. For the detailed Binance setup process, our how to connect Binance to Koinly guide covers every step.
Coinbase import. Use the API connection for the most complete and automatic import. If you also have Coinbase Pro history, import that separately as it is a different platform with different API credentials. For the full Coinbase import walkthrough, our how to import Coinbase transactions into Koinly guide covers both API and CSV methods.
DeFi wallets. Add your Ethereum wallet address and Koinly will import all on-chain transactions automatically. Review DeFi transactions carefully — liquidity pool deposits, token swaps, and yield farming rewards all require classification verification. Our Koinly DeFi and NFTs guide covers the complete methodology for accurate DeFi tax reporting.
Common Mistakes That Produce Wrong Results
These are the patterns that produce incorrect results — and all of them are avoidable with the right setup approach.
Importing only active exchanges. Incomplete source data is the single most common cause of wrong gain calculations. Every wallet and exchange that has ever held your assets must be connected — including closed accounts and wallets you have not used in years.
Skipping the transaction review. Going straight from import to report generation without reviewing flagged transactions produces a report built on unclassified data. Work through every flag before downloading any report.
Selecting the wrong accounting method. An incorrect accounting method produces a technically accurate calculation under the wrong rules. Confirm your jurisdiction’s required method before selecting it, and consult a tax professional if you are unsure.
Confusing wallet transfers with taxable disposals. Verify that transfers between your own wallets are classified as transfers, not trades. If a transfer appears as a disposal with a gain, it almost always means the receiving wallet has not been added to your Koinly account.
What To Do Next
Do this today — the initial setup takes under 30 minutes for most users:
Create your free Koinly account. Set your country and base currency in Settings first. Connect your most active exchange via API and wait for the sync to complete. Review the transactions Koinly flags. Then add your remaining exchanges and wallets one at a time, reviewing after each addition. Once all sources are connected and flagged transactions are resolved, you have a complete picture of your crypto tax position before spending anything on a paid plan.
For the complete evaluation of Koinly’s features, pricing, and how it compares to alternatives, read our full Koinly review. For specific guidance on DeFi activity, our Koinly DeFi and NFTs guide covers the complex on-chain scenarios in detail.
Get started with Koinly’s free plan here.
Frequently Asked Questions
How long does it take to set up Koinly?
Initial setup takes between 30 minutes and several hours depending on how many exchanges and wallets you need to connect. The API connections themselves take minutes. The transaction review phase — working through flagged transactions — is where time varies most significantly. Investors with straightforward spot trading activity and a small number of exchanges can complete the full process in under an hour. Investors with extensive DeFi activity across multiple wallets should budget several hours for the transaction review phase.
Can I use Koinly for free?
Yes — the free plan allows you to import all your data, connect all exchanges and wallets, and preview your calculated gains before paying anything. The free plan does not allow you to download tax reports — that requires a paid plan. But completing the full setup and review on the free plan before upgrading is the recommended approach, because it lets you verify accuracy before committing financially.
What if my gains figure looks wrong after setup?
The most common causes are missing wallet imports and unresolved flagged transactions. Before concluding there is a platform error, verify that every exchange and wallet is connected, and that every flagged transaction has been reviewed and classified. In the vast majority of cases, resolving these two issues corrects the gains figure automatically. If the problem persists, our Koinly showing wrong gains guide walks through the complete diagnostic process.
Is Koinly safe to connect to my exchanges?
Yes — Koinly uses read-only API access only. The keys you provide cannot place orders, withdraw funds, or interact with your account in any way. Always verify that the API keys you create for Koinly have trading and withdrawal permissions explicitly disabled. For a complete analysis of Koinly’s security architecture, our is Koinly safe guide covers everything in detail.
Which Koinly plan do I need?
Koinly’s paid plans are based on transaction count per tax year. The free plan lets you preview your position before paying. Upgrade only when you are ready to download your tax report. For a full breakdown of every plan tier, transaction limits, and which report formats are included for each country, our Koinly pricing guide covers everything you need to choose the right plan.
